White Chocolate Snowflakes – melted white chocolate piped into the shape of a snowflake and sprinkled with shimmer white sugar. These make adorable cupcake and cake toppers!
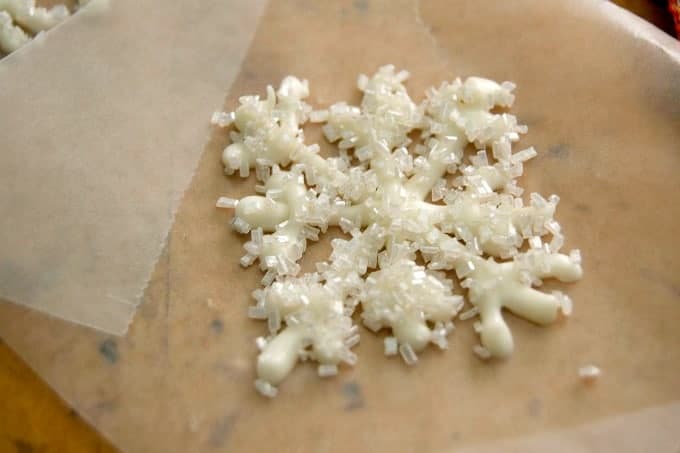
As you may or may not know, I didn’t inherit my mother’s artistic ability.
Well, I guess I did, but mine is apparent in the kitchen sense, not in the creative-painting-embroidery-cross-stitch-woodcarving-I-can-make-all-things-beautiful sense. The woman really did have a talent and if she were alive I know for sure that momma would have made these snowflakes perfectly symmetrical. That’s just the way she was.
Mine had some drips and dribbles, but I think they were pretty none the less.
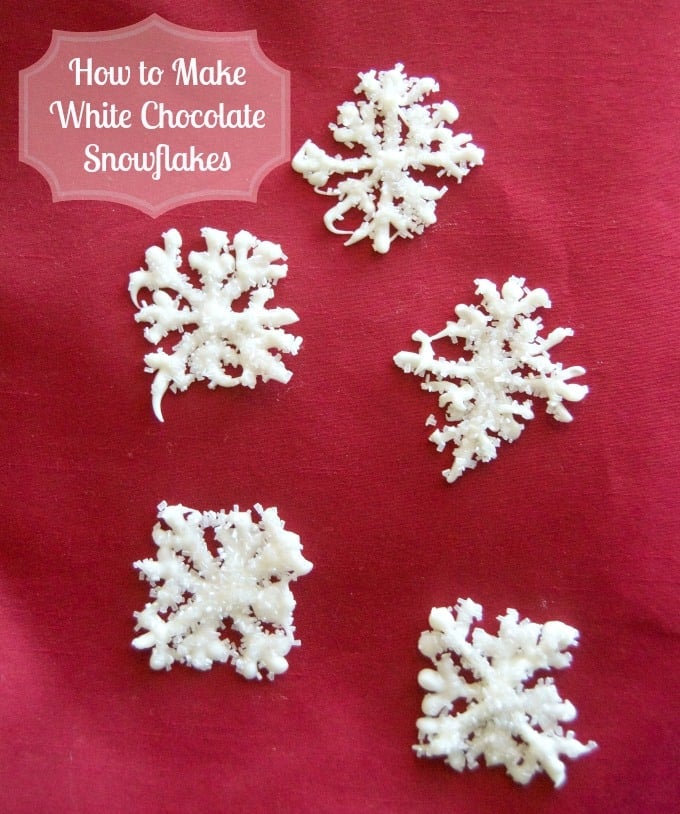
I enjoyed making them, but in order to keep myself sane and show you that YOU can do this and shouldn’t be intimidated by it, decided to go for it, not trying to achieve perfection.
Hmmm…there’s a heck of a lot of commas in that above sentence and probably isn’t grammatically correct, but what the heck, I like to keep it real. 😉
SAVE THIS WHITE CHOCOLATE SNOWFLAKES TO YOUR FAVORITE PINTEREST BOARD!
So…I’m sharing these White Chocolate Snowflakes with you. They are going to be so cute on some holiday cupcakes or even for a ‘Frozen’ Birthday Party theme. The shimmer white sugar makes them so pretty and adds some really cool sparkle to them.
AND, it covers them so nicely that if you do make a mistake, I don’t really think anyone will care. They’ll just marvel at the fact you created these and wondered how you did it.
I found this tutorial over at Haniela’s blog. Her’s are super pretty – go take a look.
Here’s what you’re gonna do…
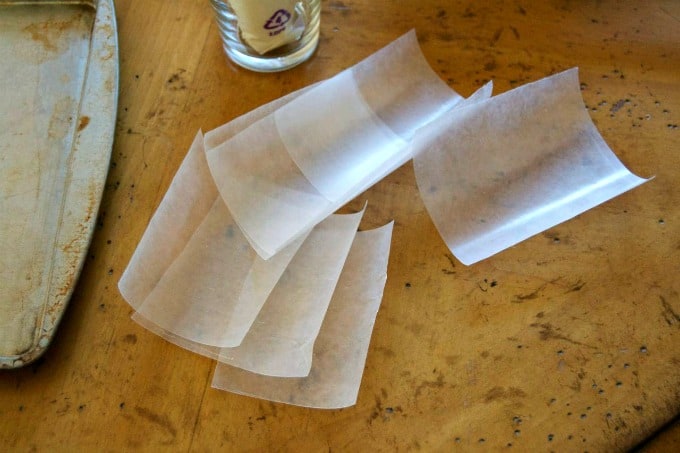
Cut out those squares of wax paper.
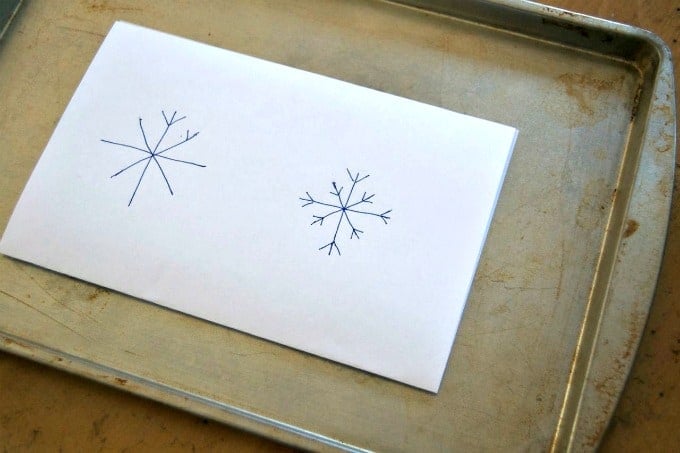
Draw a snowflake design on a piece of paper.
Melt the chocolate and then put it into a bag. I find it easiest to load the bag when it’s propped in a cup. Or you could have a very kind person hold it for you while you fill it.
Make sure the chocolate is not too hot because it will run too fast as you trace the pattern.
Think of Goldilocks and the Three Bears, you want it “just right”.
Cut a small hole in the bottom of the bag or corner of the sandwich bag.
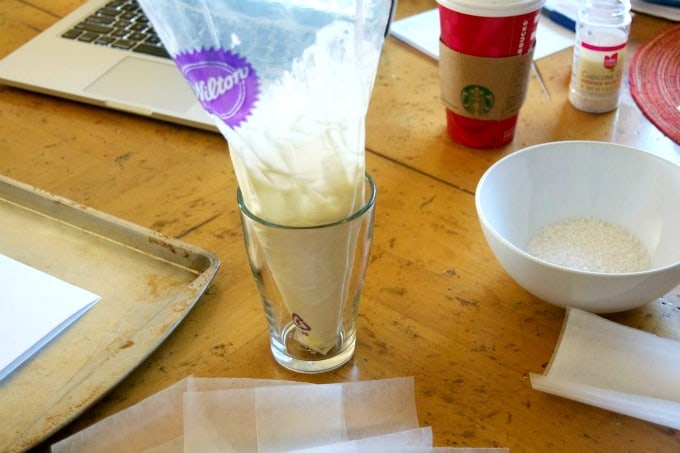
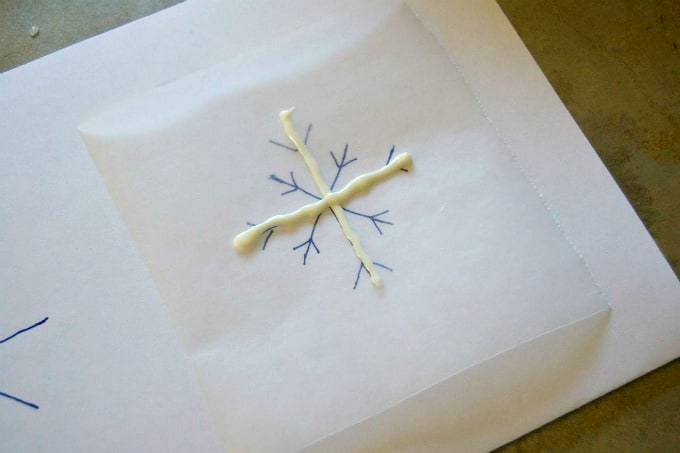
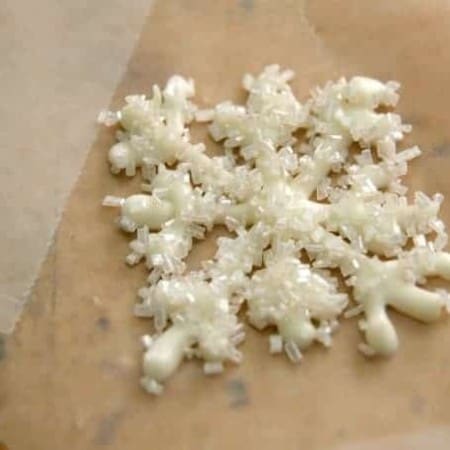
Trace the pattern, sprinkle with the shimmer white sugar and then transfer to a flat surface to set.
The sugar I used was Cake Mate Cupcake Gems Shimmer White Sugar.
~ FOLLOW ME ~
~ FACEBOOK ~ PINTEREST ~
~ INSTAGRAM ~ TWITTER ~
SIGN UP FOR THE WEEKLY 365 DAYS OF BAKING & MORE
WEEKLY NEWSLETTER!
JOIN THE 365 DAYS OF BAKING AND MORE FACEBOOK GROUP TO RECEIVE ADVANCE NOTICE OF MY LIVE FB VIDEOS, SHARE RECIPES AND MORE!
White Chocolate Snowflakes
Ingredients
- 1 cup white chocolate morsels
- 1 disposable piping bag or sandwich bag
- 1 snowflake pattern
- small squares of wax paper approximately 3 X 3-inches to 4 X 4-inches
- shimmer sugar can be found in the baking aisle of most major grocery stores or Walmart
Instructions
- Begin by drawing a snowflake on a white piece of paper, about 2 - 3 inches in diameter. You don't want to make them too big as they'll overwhelm the cupcake and may have trouble standing upright.
- Melt the chocolate in a microwave safe bowl for 20 seconds. Stir and microwave again in increments of 10 seconds until completely melted, stirring in between.
- Place melted chocolate into your piping container of choice. When piping the chocolate, it should slightly warm, but not hot. The hotter the chocolate it, the more quickly it will flow out of the bag. If it is too cool, it will clog the hole (ask me how I know). Should that happen, run the bag under some warm water to start it flowing again and wipe the excess water off with a paper towel.
- Cut a small hole in the bottom or corner of the bag.
- Place a piece of wax paper over the snowflake pattern.
- Trace over the pattern with the chocolate.
- Sprinkle shimmer sugar over the snowflake immediately after.
- Transfer to a baking sheet to harden and refrigerate if possible.
- Snowflakes will be a bit sturdier and there for easier to peel if refrigerated before using.
- Gently peel from wax paper and place onto frosted cupcake or cake.
*NOTE: since I’ve posted this recipe, people have been kind enough to suggest adding a little bit of shortening or coconut oil to prevent the chocolate from hardening once it’s in the bag. I have not tried it, so I cannot confirm nor deny. My suggestion would be to add a teaspoon of the shortening or coconut oil to the chips while melting. Let me know how it goes!
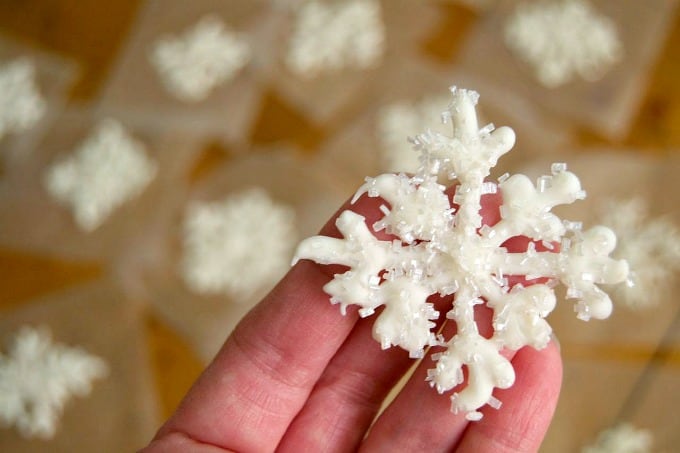
I rate everything I make on a scale of 1 – 4 and these White Chocolate Snowflakes earned 3 1/2 stars.
I thought they were delicious. Yes, of course, I ate the ones that accidentally fell apart.
I love them because they are pretty easy, would be a great project to do with the kids and are so gosh darn beautiful, even if they aren’t as exactly perfect as real snowflakes.
YOU can do this!!
Don’t forget these other winter recipes to liven up your holidays!
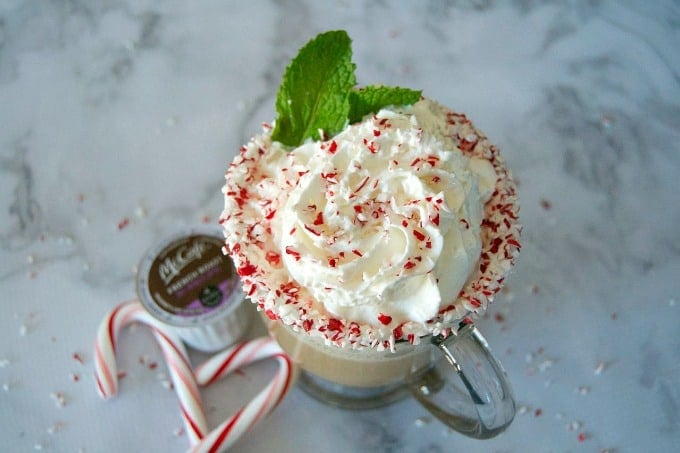
Peppermint White Chocolate Mocha
Jackies Vanilla Cut-Out Sugar Cookies

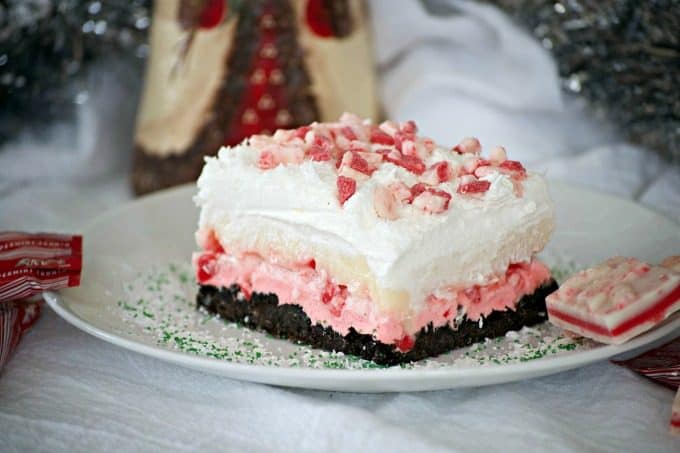
Peppermint Dream Dessert
The one thing I would suggest…
I found it easiest to do them on the kitchen counter instead of at the dining room table where I originally started. Between the piping and sprinkling the sugar on each of them, the chocolate started to harden. So, it was more convenient to be near the kitchen sink to run the bag under the warm water to soften it.
Wait, another suggestion… if you have a helper (think child-size helper) to sprinkle the sugar after you pipe, I do believe that would make things easier and move the process along as well. You’ll be building their self-esteem by giving them such an important task.
AND…they’ll be beaming with pride when everyone is floored by how pretty these are. They’ll be able to say that they added the sparkle!
It’s ok for you to take a back seat and let them shine. It’s in the spirit of giving.
Watch the 365 Days of Baking & More Facebook page over the next few weeks and you’ll see what I used these for!
Comments & Reviews
these are adorable. cant wait to make these.
Thanks, Susan!
They were a lot of fun! Enjoy!
I will definitely have to try this, they are so cute!
I work with Wilton Melts a lot.. make sure you melt them at 50% power in the microwave (follow the bag instructions) else you will end up with weird chunks if it accidentally is overheated. Also, instead of using a bag, try using a Wilton Squeeze bottle, its reusable and much easier to fill (and set on the table when you need to):
http://www.michaels.com/10265132.html?cm_mmc=Sq1_Search-_-GooglePLA-_-Wilton-_-Wilton%20Squeeze%20Bottle&utm_source=GooglePLA&utm_medium=cpc&utm_campaign=Wilton&utm_term=Wilton%20Squeeze%20Bottle&utm_content=10265132&srccode=cii_17588969&cpncode=45-16002975-2
Ah, GREAT suggestions, Mary Jane! Thank you!
These were a lot of fun to make and they turned out to be so pretty that I just sat there looking at them for a while before I used them.
This idea is sooo great!! I’m going to try this with cookie dough!!!
Thanks, Gzeau!
That’s a great idea! I’ve been thinking the SAME thing! And have that recipe coming up in the next few weeks!
Have fun with it!
wow these are so gorgeous! when i’m feeling adventurous in the kitchen i will have to try!
The snowflake cookies alone (which I think even I could handle!) had me hooked. I pinned it, followed you on pinterest , became a fb fan and followed you on twitter. I think I’ll be devouring this site for days lol.
Sharon, so sorry for the late response! Thank you SO much!! I’m thrilled that you’ve been enjoying the site and thank you so very much for being a great supporter!
I love these – SO pretty! Featuring at this week’s Wednesday Whatsits!
Thanks SO much, Rachel!
How far in advance can you make them and let them sit in the refrigerator?
Thanks
DC, I would only suggest making them up to 24 hours in advance if possible. You don’t want them sitting in the fridge too long before you use them as the chocolate may absorb any odors in the fridge.
Hi. I’ve tried making shapes with white chocolate and milk chocolate. I put them in the fridge and everything is good until I want to decorate a cake they start to melt. I can’t figure out what I’m doing wrong. I’m overseas so I only have Hershey’s and toll house chips. Help please
Made these and am very happy with the results. I did add a very small amount of vegtable oil and that helped keep the chocolate from hardening. I did not have the sugar so I sprayed them with edible pearl coloring.
Thanks for the information!!
Sarah, great idea with the vegetable oil. I think I’ll have to try that. I’m so glad they worked out for you. Thanks so much for letting me know!
Amazing work!! Looking for more from you.