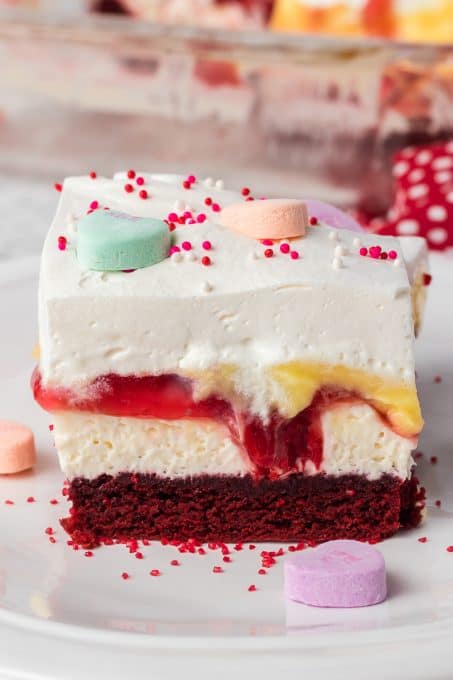
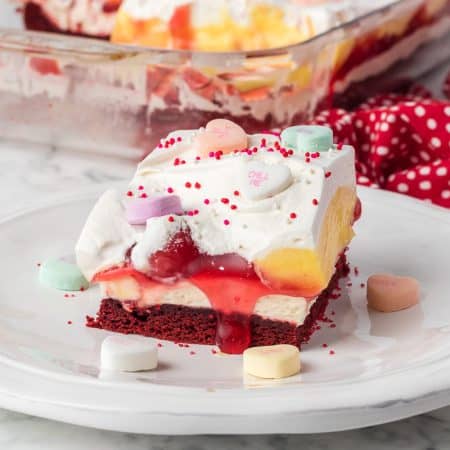
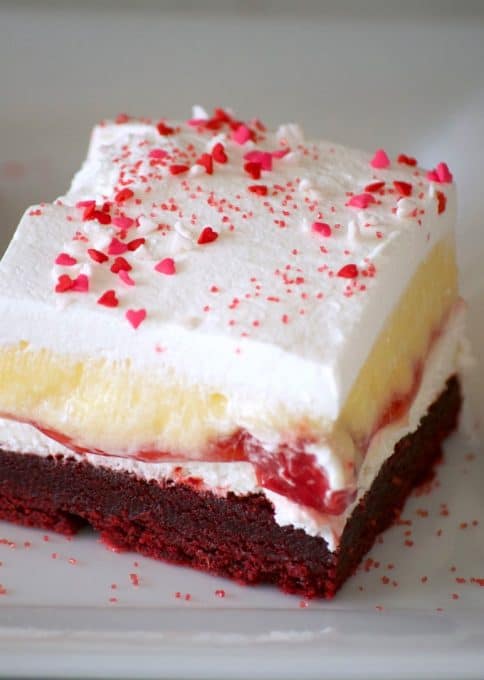
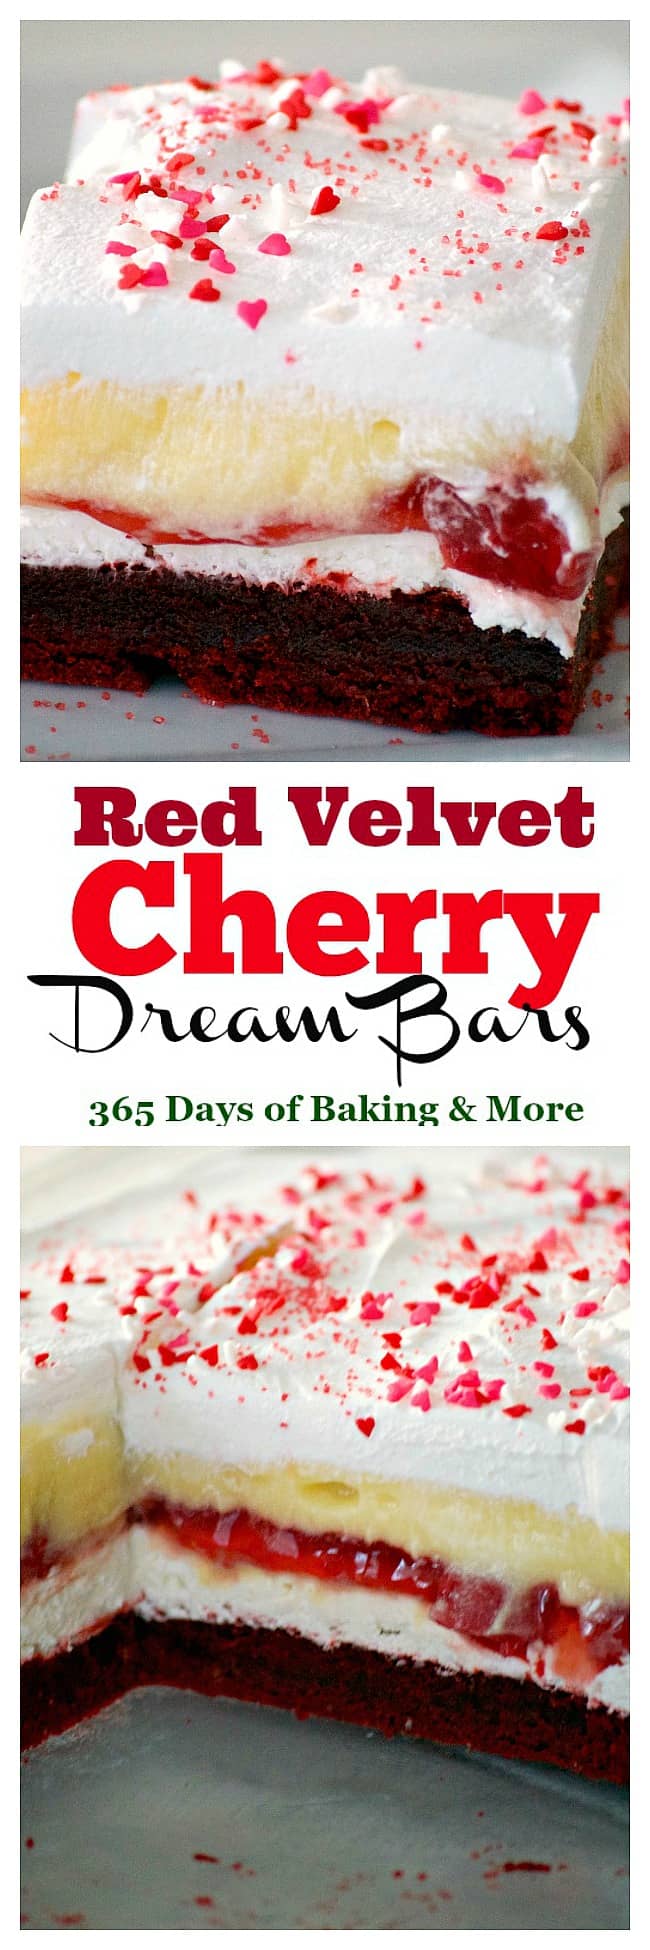
These luscious Red Velvet Cherry Dream Bars are made with a red velvet cookie crust, a sweet cheesecake layer, cherry pie filling, vanilla pudding, and whipped topping, making these bars the perfect treat for the holidays! Or better yet, red velvet lovers can enjoy them all year round!
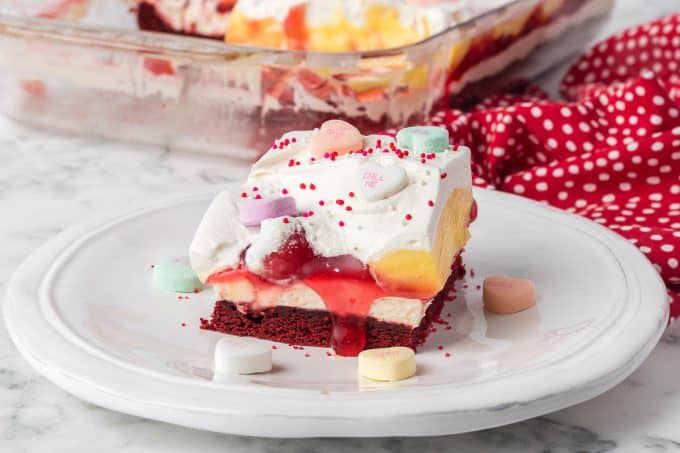
If you’re looking for a decadent dessert to serve your love on Valentine’s Day, this red velvet dessert definitely fits the bill! Even though there are several sweet layers to this dessert, it’s light enough that you can eat it without feeling completely overstuffed at the end.
SAVE THIS RED VELVET CHERRY DREAM BAR RECIPE TO YOUR FAVORITE PINTEREST BOARD!
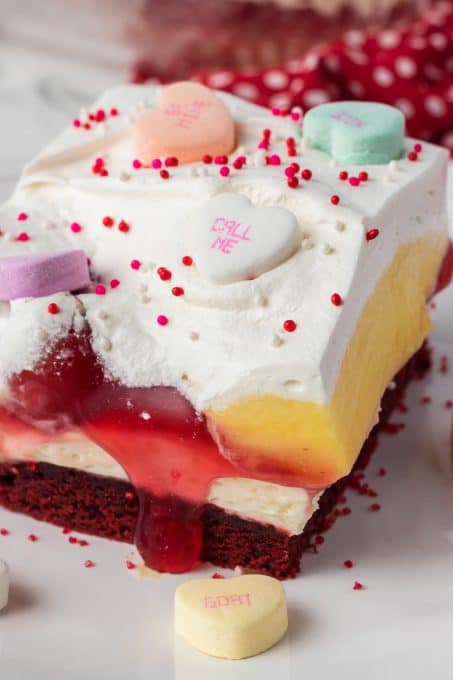
Dream bars, also known as dessert lasagna or lush, are some of the most popular recipes on my site. I have a dream bar recipe for just about any palate!
For these bars, I wanted a red velvet crust because, well, it’s almost Valentine’s Day! I used a boxed cake mix without the water to make a thicker cookie base. I thought about using the Red Velvet Oreos, but I didn’t think they’d give me the color for the crust I was going for.
Since I used the cake mix, I had to use a 9 X 13-inch baking dish. I usually make my Dream Bar recipes in an 8 X 8-inch pan, but not everything will fit in the smaller pan because the cake mix expands so much.
If you want to cut the recipe in half, my suggestion would be to use one package of the Red Velvet Oreos. To make that version of the crust instead, use the directions outlined in this recipe.
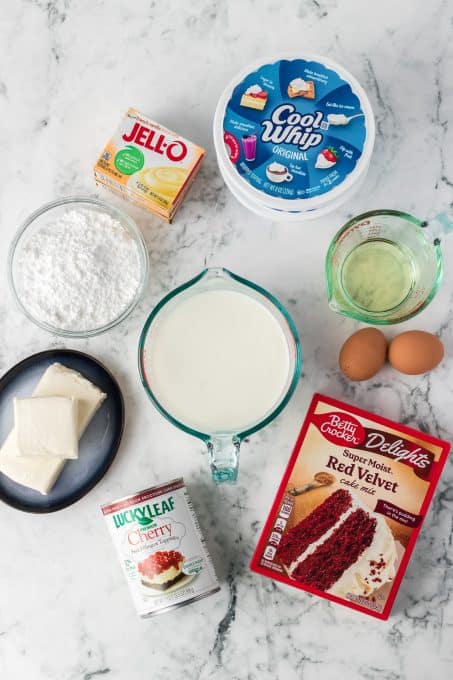
Ingredients for Red Velvet Lasagna
Stock up at the grocery store so you’re ready to make this delicious recipe. Here’s what you need:
- One 16.5-ounce package of Red Velvet cake mix (do not follow the ingredient directions on the package!)
- 2 eggs
- ⅓ cup canola oil
- Two 3.4-ounce packages of instant vanilla pudding
- 3 cups whole milk (or you can use a lower-fat milk)
- 10 ounces cream cheese, softened to room temperature
- 1 teaspoon pure vanilla extract
- 1 cup confectioners’ sugar
- One 21-ounce can of cherry pie filling
- Two 8-ounce containers of Cool Whip – Dairy Whip can also be used as a substitute
If you do not wish to use Cool Whip, I have a Stabilized Whipped Cream recipe that works perfectly in all of my dream bar recipes. For these Red Velvet Cherry Dream Bars, be sure to double that whipped cream recipe.
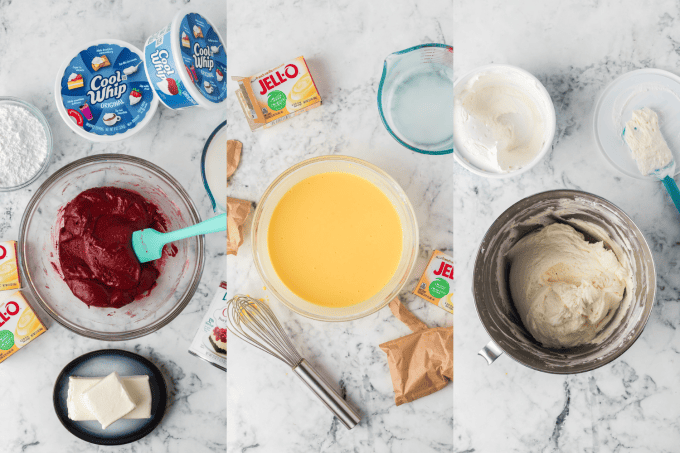
How to Make Red Velvet Cherry Dream Bars
First, let’s make the individual layers. Then we will assemble the dessert lasagna once everything is ready!
Bake the Dream Bar Crust
- First, preheat the oven to 350 degrees F and prepare a 9 X 13-inch baking dish by spraying it lightly with cooking spray. You could also line it with parchment paper, as this may help in removing and slicing the final dessert!
- Next, in a medium mixing bowl, lightly beat the eggs. Then add the canola oil and cake mix and mix together until thoroughly combined. Make sure there are no lumps! It will be a very thick batter, not light and airy like a cake mix.
- With a silicone spatula, press the batter evenly into the bottom of the pan. Bake the crust in the preheated oven for 12-15 minutes or until set in the middle.
- Transfer the baking dish to a wire rack to cool completely.
Make the Pudding
In a medium bowl, mix together the pudding mix and 3 cups of milk. Place it into the refrigerator to set.
Sweet Cheese Layer
In a separate large bowl, beat the cream cheese with an electric mixer on medium speed until light and fluffy. Add the confectioners’ sugar, and vanilla, and mix to combine. Fold in 2 cups of the Cool Whip or whipped cream with a silicone spatula. Set this aside until ready to assemble.
Assemble the Red Velvet Dream Bars
Now it’s time to put the whole dessert together!
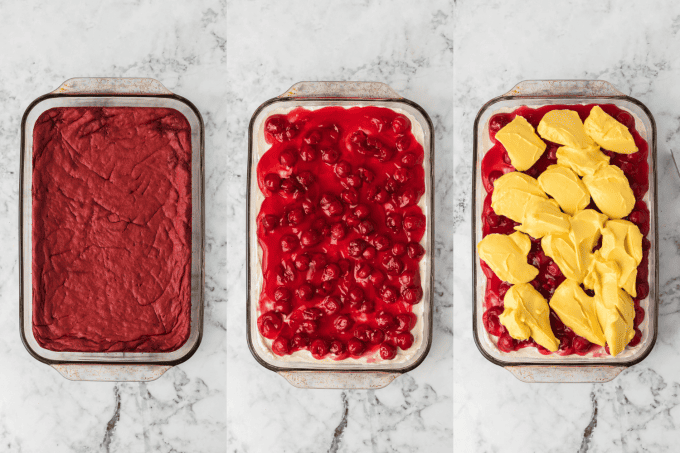
- Take your cooled crust and place dollops of the cream cheese mixture on top. Spread evenly with an offset spatula.
- Pour the cherry pie filling over the cream cheese and spread it into an even layer.
- Next, add the vanilla pudding and spread it evenly over the pie filling.
- Finally, cover the pudding layer with the remaining Cool Whip.
- Place the entire dessert into the fridge for at least 2 hours.
- When you’re ready to serve it, you can decorate the bars with holiday sprinkles and red sanding sugar if desired. Enjoy!
See the complete list of ingredients and list of instructions in the recipe card below!
Tips for Cutting Red Velvet Cherry Dream Bars
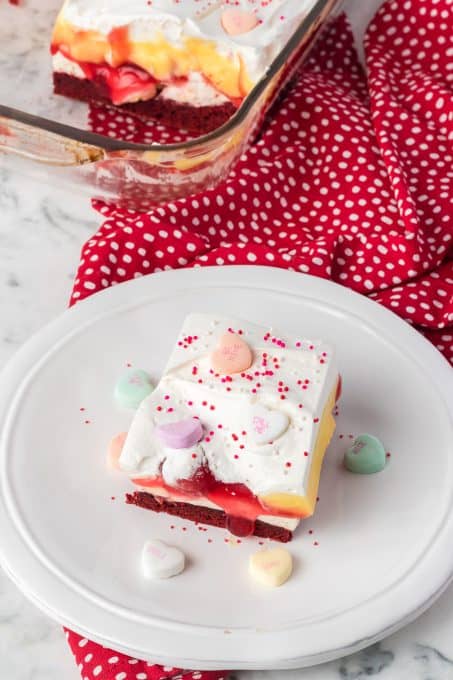
- Make sure your dream bars are thoroughly chilled before cutting and serving them.
- Use a warm, sharp knife and clean it between cuts for best results.
- Use a small dessert spatula to remove individual bars cleanly!
How do I store leftover Dream Bars?
This dessert is full of perishable ingredients, including cream cheese and milk. That means you need to cover it with plastic wrap or aluminum foil (or use an airtight container with a tight-fitting lid) and store it in the refrigerator.
Can I make Red Velvet Cherry Dream Bars ahead of time?
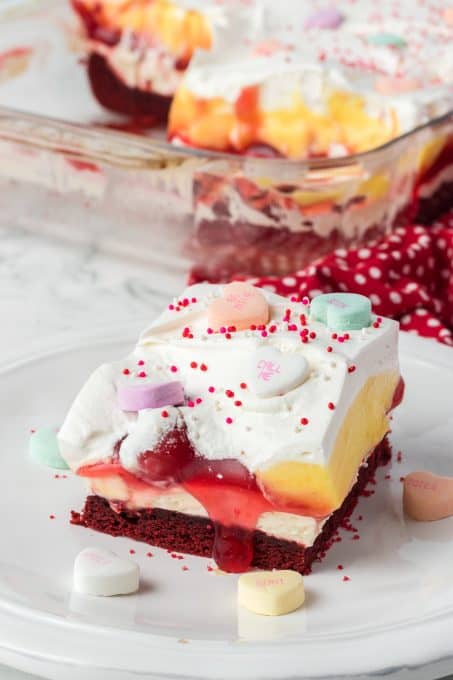
Of course! Keep the bars covered and chilled and they’ll stay good for up to a week!
Do you love Red Velvet recipes?
Try these Red Velvet Chocolate Chip Cookies!
Red Velvet lovers will jump for joy when you make them these Red Velvet Blossom Cookies, too! They’re a red velvet chocolate cookie covered in colorful sprinkles or red sanding sugar with a chocolate heart placed in the center.
Make More Dream Bars!
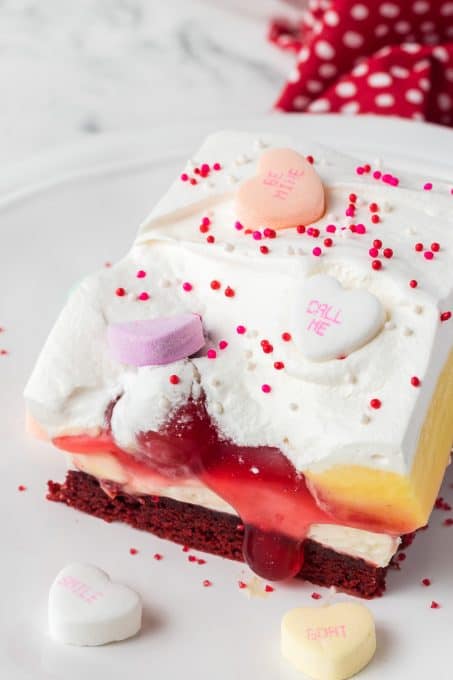
You’ve got to try more of my dream bar recipes! Find them all here. These are some of the most popular ones:
- Orange Creamsicle Dream Bars
- Banana Pudding Dream Bars
- Chocolate Peanut Butter Dream Bars
- Strawberry Cheesecake Dream Bars
- Chocolate Mint Dream Bars
- Peanut Butter Cookie Dough Dream Bars
Which dream bars will you try next?
FOLLOW ME
FACEBOOK ~ PINTEREST
INSTAGRAM ~ TWITTER
YOUTUBE
Keep an eye out for more of my easy recipes each week!
Red Velvet Cherry Dream Bars
Ingredients
- 16.5 ounces Red Velvet cake mix DO NOT follow ingredient directions on package
- 2 large eggs
- ⅓ cup canola oil
- 6.8 ounces instant vanilla pudding (2) 3.4 packages
- 3 cups milk
- 10 ounces cream cheese softened to room temperature
- 1 cup confectioners’ sugar
- 1 teaspoon pure vanilla extract
- 21 ounces cherry pie filling
- 16 ounces Cool Whip (2) 8 ounce containers OR 2 recipes of my Stabilized Whipped Cream
Instructions
- Preheat oven to 350 degrees F. and prepare a 9 X 13-inch baking dish by spraying it lightly with cooking spray.
- In a medium mixing bowl, lightly beat the eggs. Add the canola oil and cake mix and mix together until thoroughly combined with no lumps.
- Press batter evenly into the bottom of the prepared baking dish.
- Bake for 12 – 15 minutes until set in the middle.
- Transfer baking dish to a wire rack to cool completely.
- In a medium bowl, mix together the pudding mix and milk. Place into refrigerator to set.
- In a mixing bowl, beat the cream cheese. Add the confectioners' sugar, and vanilla, and combine.
- Fold in two cups of the Cool Whip.
To Assemble
- Place dollops of the cream cheese mixture on top of the cooled cookie crust and spread evenly.
- Place the cherry pie filling over the cream cheese and spread.
- Add the vanilla pudding.
- Cover with remaining Cool Whip.
- Place into refrigerator to set for at least two hours.
- Before serving, decorate with red colored sugar and holiday sprinkles.
Notes
Nutrition
This post was originally published January 26, 2017. It has been updated in format and with pictures on February 12, 2024.

Comments & Reviews
These really do look dreamy!
ps – i just stumbled on your blog again for the first time in AGES after I was reading some old posts/comments on my blog. So glad to have found your site again and will definitely be catching up. hope to see you around in good taste again soon!
Maris!! Hey, girl!! Thanks so much for your kind words. Funny how we get sidetracked over the years, but so glad we’ve reconnected. I look forward to “seeing” you again! 😉
Lynn I like your website
Thanks so much, Melody! I’m so glad you found me!
Recipe freezes when come to print…for many others , not just me
So many fun recipes! I think I will try the mint one. Thanks for sharing your recipes.
Thanks so much, Amy. I hope you enjoy them!
at the end in notes, you say to double the red velvet recipe, why would you tell us that after the directions, or is that not necessary
Kathleen, that note at the end of the recipe is to double the recipe for the Stabilized Whipped Cream if you’ll be using that in place of Cool Whip. It’s not to double the red velvet cake mix. The Stabilized Whipped Cream recipe will only be enough for an 8 X 8-inch pan, not the 13 X 9 size used for the red velvet bars.
These are Wonderful! Made them for my husband’s work today. Everyone thought they were DELICIOUS!
DEFINITELY A KEEPER! THANKS
Just in the process of making this but the 9 by 13 pan is not big enough I have the cookie mix on the bottom the cream cheese and Dream Whip mix next the pie filling next and I have no room for the putting in the extra whip cream what am I going to do now I followed the directions exactly
I just made this! The 9*13 pan was too small and had to flip the cake onto a cookie sheet! When I baked the cake (following the instructions) it came out more cake-like than brownie-like. I had to frost the sides of the dream bars with the cool whip to keep the chilled cherries from dripping. Before cutting and serving I’m refrigerating hoping they will firm.