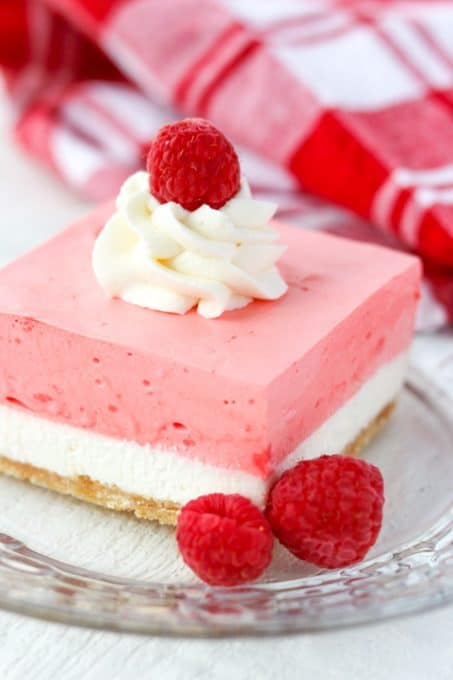
Raspberry Cream Dream Bars – Cool off in the heat of summer with this easy no bake dessert recipe. A Nilla Wafer Cookie crust, sweet vanilla cheesecake layer topped with a creamy raspberry jello layer, it will remind you of eating your favorite treat off the ice cream truck. Or if orange creamsicles are your preference, make their sister Orange Creamsicle Dream Bars. They’re desserts you’ll probably want to eat all year long.
Planning a gender reveal party, then pair these pink dream bars with the Blue Raspberry ones!
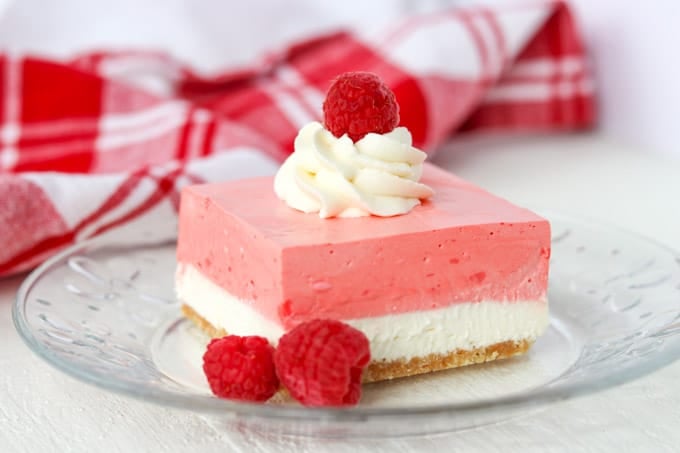
Another sweet, but not overly so, creamy, cool, and refreshing no bake dessert to fall in love with.
*This post contains an affiliate link(s).
And I really think you might.
My family certainly did.
One bite and my son, Cameron’s eyes lit up.
SAVE THIS EASY RASPBERRIES AND CREAM DESSERT RECIPE TO YOUR FAVORITE PINTEREST BOARD!
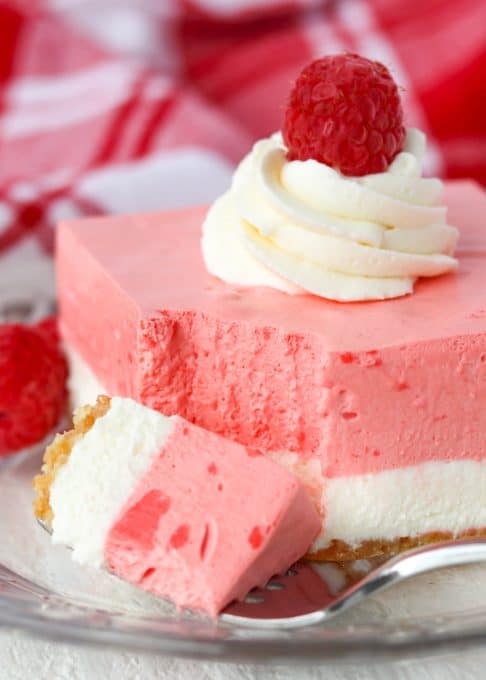
It’s easy.
It’s no bake.
It’s super delicious.
But the hardest part, is waiting for it to chill!
Don’t worry though, I promise you it will be worth the wait.
I so wish I could hand you a fork right now and you could dig into your phone or computer screen!
Just go make them. STAT!
Easy Gender Reveal Party Dessert – Raspberry Creamsicle Bars
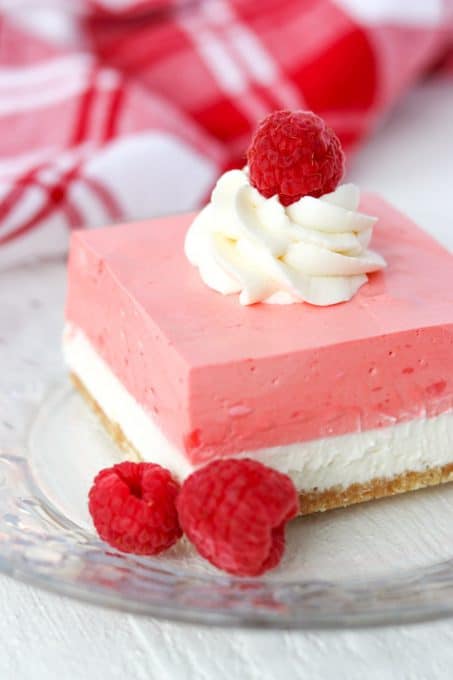
How FUN would this dessert be to serve at a gender reveal party??
You can make two – one in pink with the red raspberry jello, and one with blue raspberry for a boy!!
Have the guests choose whether they think the baby will be a boy or girl based on which color dessert disappears the fastest!
What you need to make this Raspberry Cream dessert
- 8 X 8-inch baking pan
- parchment paper – out of all the different ones I’ve used, I like this kind the best!
- food processor, blender or plastic bag for crumbling the cookies.
- 2-cup liquid measuring cup
- stand mixer or hand mixer
- red food coloring – with this set, orange coloring is included, so you can make the Orange Creamsicle Dream Bars, too!
- offset spatulas – these are perfect for spreading the layers evenly and into the corners of the pan.
How to make these Raspberry Creamsicle Dream Bars
- Line your 8 X 8-inch baking pan with with parchment. This way you can easily remove the entire tray of bars, peel down the slides, slice and neatly serve them. Also, it makes for little clean up.
- I really like using Nilla Wafers for the crust.
Use 1 ½ cups of finally crushed Nilla Wafers (about 45 cookies) and combine with 5 tbsp of melted butter.
You can also use graham cracker crumbs or shortbread cookies, like Lorna Doone.
Just make sure the cookie crumbs measure 1 ½ cups.
I have used Golden Oreos for the crust, but found the dessert was just a bit too sweet for my liking. - Making the crust and putting it into the freezer to set is the first thing I do. That way it can really have a chance to harden during the hour the cream mixture is in the fridge chilling as well.
- When mixing the raspberry gelatin, ONLY use the amount of water stated in THIS recipe, NOT as is called for on the box. We want the mixture to be a bit more stable than usual. Chill the gelatin until it is cold, about 10 minutes. You do not want it to set.
If you’d prefer to make these blue, use the blue raspberry gelatin and a few drops of blue food coloring instead of the red. - Place the raspberry cream mixture into the fridge to semi-set for at least an hour. You want it to become thick enough that it blends easily with the Cool Whip. If it hardens too much there will be large chunks of gelatin and it won’t mix as smoothly.
- If you’re one who would prefer not to use Cool Whip, make my Stabilized Whipped Cream. It makes the perfect amount of whipped cream you’ll need for each of my Dream Bar recipes and tastes much better, too!
- Once finished, refrigerate the Dream Bar recipe for a minimum of 6 hours or overnight. I like the overnight option because it’s a dessert you can make the day before you’re going to serve it.
If you love no bake desserts, you’ll love the rest of my Dream Bar recipes.
There’s a flavor for everyone!
Peanut Butter and chocolate are always a delicious combination, so I decided to make my Chocolate Peanut Butter Dream Bars.
Like chocolate, caramel and pecans?
Then these Easy No Bake Turtle Dream Bars are for you and will remind you of those candies everyone loves so much.
You can also chose to go with a fruit flavored one.
I’ve got one made with strawberries, and this one made with chocolate AND strawberries.
You might go bananas for this one (haha).
And this no bake pumpkin recipe is what I prefer over a regular pumpkin pie at Thanksgiving.
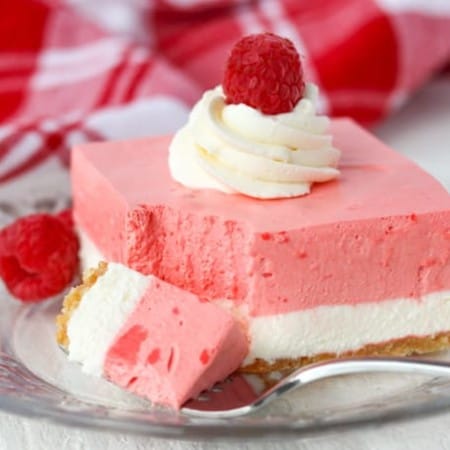
Raspberry Cream Dream Bars
Equipment
- Mixer https://amzn.to/3cXMts3
- Mixing bowls https://amzn.to/3PUktnG
- parchment paper
- 8 X 8-inch cake pan
Ingredients
- 8 ounces Cool Whip or 1 recipe of my Stabilized Whipped Cream divided
Nilla Wafer Crust
- 1 ½ cups Nilla Wafer Cookie Crumbs about 45 cookies
- 5 tablespoons unsalted butter
Raspberry Cream Layer
- 3 ounce package red raspberry jello
- ¾ cup boiling water
- ¾ cup cold water
- 8 ounces cream cheese room temperature
- 1 teaspoon raspberry extract
- 8 drops red food coloring
- 2 cups Cool Whip
Cheesecake Layer
- 8 ounces cream cheese room temperature
- 1 cup powdered sugar
- 1 teaspoon pure vanilla extract
- 1 cup Cool Whip
- additional Cool Whip, my Stabilized Whipped Cream or can whipped cream for serving if desired
- fresh raspberries for serving if desired
Instructions
Nilla Wafer Crust
- Line an 8 X 8-inch baking pan with parchment, so that you can easily remove the bars to evenly slice and serve.
- In a medium bowl, melt the 5 tablespoons of butter in a microwave for about 30 seconds. Stir and melt for another 5-10 seconds, if necessary.
- In a food processor, pulse the Nilla Wafers until they are fine crumbs. Add the cookie crumbs to the melted butter and mix with a rubber spatula until all is well incorporated.
- Pour into the prepared baking pan and spread, pressing down to create an even crust. Place pan into the freezer while preparing the rest of the recipe, a minimum of 30 minutes.
Raspberry Gelatin
- Into a 2-cup measuring glass, mix the raspberry gelatin with 3/4 cup boiling water. Stir until dissolved. Add the 3/4 cup cold water and stir. Place into refrigerator until completely cooled, but not set – about 10 minutes.
Raspberry Cream Layer
- In a mixing bowl, beat 8 ounces of the cream cheese with the raspberry extract and red food coloring.
- Slowly pour in the chilled gelatin mix while mixing everything together. Once completely smooth, place into refrigerator to chill and thicken for one hour. *See Note.
Cheesecake Layer
- In a mixing bowl, beat another 8 ounces of cream cheese, the confectioners' sugar, and vanilla together until smooth and creamy. With a rubber spatula, fold in one cup of the Cool Whip.
- Place dollops of cheesecake mixture onto the frozen crust and with an offset spatula, spread to form an even layer.
Raspberry Cream Layer – continued
- After the Raspberry Cream mixture has been refrigerated for an hour, fold in the remaining Cool Whip (about 2 cups) with a rubber spatula, combining until evenly distributed and smooth.
- Gently pour the raspberry cream onto the cheesecake layer and spread evenly with an offset spatula.
- Place into the refrigerator overnight or for a minimum of 6 hours
- When slicing, remove the bars from the entire pan by lifting them out in the parchment. Run a large knife under hot water, dry off, and then slice through the bars, repeating with each cut. This will help make clean cuts.
- Serve with dollops of additional Cool Whip of my Stabilized Whipped Cream and fresh raspberries.

Comments & Reviews
Hey Lynn, this is such a pretty looking treat. It’d go perfect on a Sunday brunch. Thanks for sharing the detailed instructions. I’d love to try it out.
How far in advance can I make this dessert?
Dorothy, I wouldn’t do it more than two days in advance at the most.
Enjoy it!
Ok so in the ingredient list you say 2 cups cool whip for the Raspberry Cream Part but you dont add this anywhere to add in the instructions I am confused! I just made this and poured the Raspberry Cream on top of the Cheesecake Layer and the realized this error – I guess I will be adding cool whip on top I hope this recipe turns out because I doubled it and thats a lot of ingredients wasted if it doesnt work
Raspberry Gelatin
Into a 2-cup measuring glass, mix the raspberry gelatin with 3/4 cup boiling water. Stir until dissolved. Add the 3/4 cup cold water and stir. Place into refrigerator until completely cooled, but not set – about 10 minutes.
Raspberry Cream Layer
In a mixing bowl, beat 8 ounces of the cream cheese with the raspberry extract and red food coloring.
Slowly pour in the chilled gelatin mix while mixing everything together. Once completely smooth, place into refrigerator to chill and thicken for one hour. *See Note.
Karen, I can see where you would have gotten confused, and I’m sorry about that. In the recipe card, the addition of those 2 cups of Cool Whip to the Raspberry Cream Layer was actually stated in the instructions after the completion of the cheesecake layer. I made it clearer by adding the heading “Raspberry Cream Layer- continued” in the instructions after it has been chilled for an hour.
Thank you for bringing that to my attention.
thank you for replying and editing the recipe! We love this dessert – in fact my granddaughter was very upset last Sunday when I showed up with Strawberry Rhubarb pie instead of this dessert lol !! It’s definitely a keeper