Nothing makes a pie better than using a Homemade Pie Crust! Using just five simple ingredients, this easy pie crust recipe results in a perfectly flaky crust you’ll want to use with all your pies!
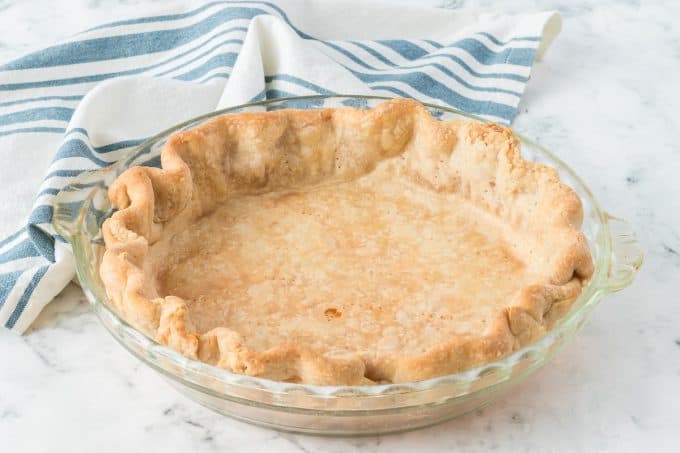
I know, I know. Everyone claims they have the best pie crust recipe! I really love a flaky homemade pie crust, and this pie crust with shortening and just a bit of butter really fits the bill!
SAVE THIS SHORTENING PIE CRUST RECIPE TO YOUR FAVORITE PINTEREST BOARD!
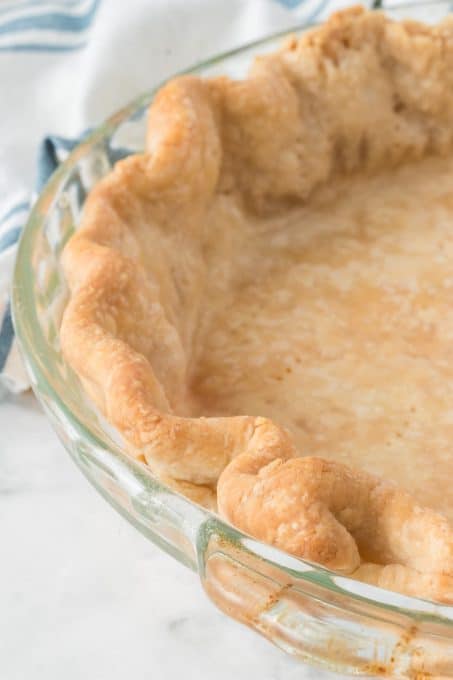
Why I Like Pie Crust with Shortening and Butter
I enjoy a good butter pie crust recipe sometimes, but there are several reasons I recommend this recipe:
- This simple recipe is super easy, with only five simple ingredients.
- Make this pie crust ahead of time and it turns out even flakier!
- Shortening makes the pie crust so easy to work with and helps hold its shape better!
- It has a very neutral taste, making it the perfect pie crust for either sweet or savory pies.
Homemade Pie Crust Recipe Ingredients
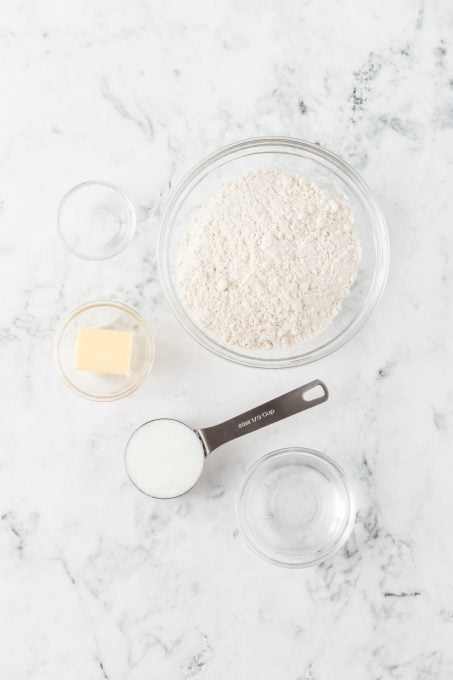
As promised, here are the five ingredients you need to make your own pie crust:
- All-purpose flour
- Salt
- Vegetable shortening, unflavored or butter flavor
- Cold unsalted butter
- Cold water- I recommend ice water
The exact amounts you need are listed in the recipe card at the bottom of the post, so make sure to scroll down!
How to Make Pie Crust from Scratch
A lot of people are scared to make their own homemade pie crust because it can be finicky. This is a great recipe to start with because the shortening and refrigeration makes it very easy to work with. Here’s how to do it:
- Fill a cup with water add a bit of ice to it before starting and gathering your ingredients.
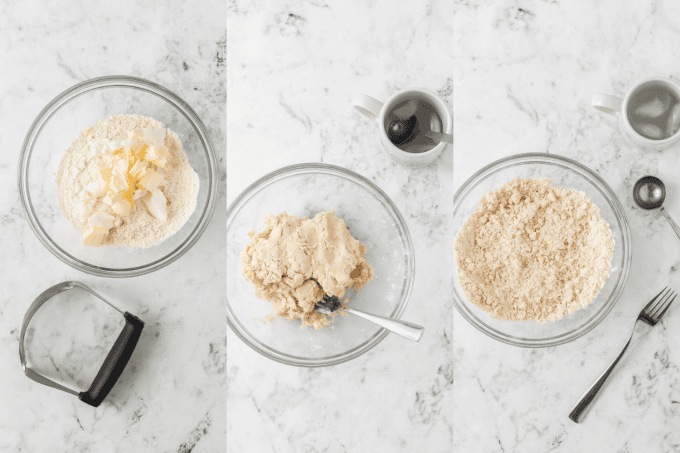
- Combine the dry ingredients (flour and salt) in a medium bowl. Add the shortening and butter to the flour mixture, then use two forks or a pastry cutter to cut it into the flour until the mixture resembles a coarse meal or peas. It should have a uniform texture but will be a combination of crumbs and small bits and pieces.
- Add the ice cold water a tablespoon at a time and stir gently with a fork or rubber spatula until the dough starts to hold together. If you add too much water, the dough will be sticky. Also, be careful not to over-mix it or it will be tough!
- Once the dough forms, shape it into a ball, wrap it tightly in plastic wrap, and then pat it down into a disc. Refrigerate it for at least 24 hours. Two hours, a shorter amount of time or not refrigerating at all is not sufficient as the dough will be chilled on the outside and still warm inside making it sticky when you work it. You may not want to do this because of time constraints, but trust me on this: a dough that has been kept cold for this long makes it SO much easier to roll out and is less likely to tear. Also, DO NOT allow it to warm up or come to room temperature before rolling, keep it COLD!
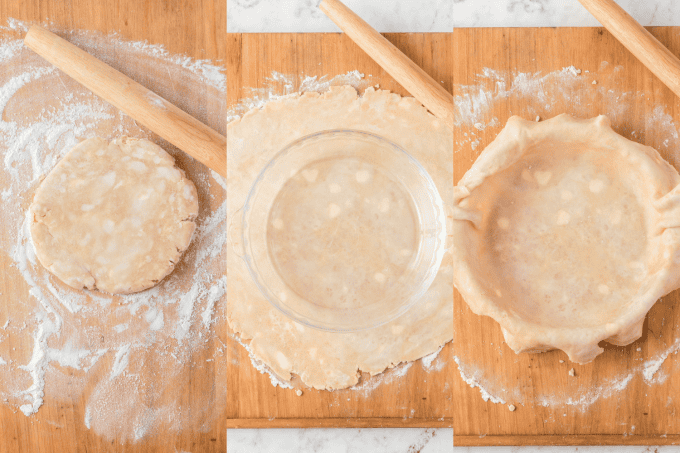
- When ready to roll it out, unwrap it from the plastic and place the dough on a clean work surface that’s been lightly floured. Using a lightly floured rolling pin, evenly distribute hard smacks on the dough 10-15 times to make it more pliable.
- Roll the dough into a large circle about two inches larger than your pie pan. Do this by rolling a couple times from the 12 o’clock to 6 o’clock positions. Always stop rolling before you get to the edge, as doing so will make the edges too thin. Turn the dough 180 degrees and roll again from 12 to 6, lightly adding flour to your work surface, if needed. Then turn the dough 90 degrees and roll the same way. Rotating the dough will also help prevent it from sticking. If the dough is cold enough, and by working quickly and efficiently, you should only need a minimal amount of flour to keep it from sticking either to your work surface or the rolling pin. Adding too much flour will make the dough tough.
Continue rotating 90° and rolling until you have created a circle that is at least 2-inches larger than your pie plate. If there are edges that are a bit straight, use the end of the rolling pin to curve from the middle of the dough out to the edge. Also, if cracks form at the edges, push the dough together by cupping your hand, helping to form the outer edge of the circle, and gently push towards the middle. Then roll again as directed.
- The dough should be lightly floured enough so that you can roll it up and over the rolling pin or fold it in half to transfer to the pie dish. Drape it loosely over, then fit it into the pan by gently lifting the edges of the dough so that it settles at the bottom and along the sides, never pressing or forcing as that will tear it. When making a one-crust pie, do not trim the edges. Just fold the excess dough under creating a thicker base to crimp or flute the crust (see below). When making a double-crust pie, fold the top crust under the bottom overhanging crust to form your edge, and then crimp.
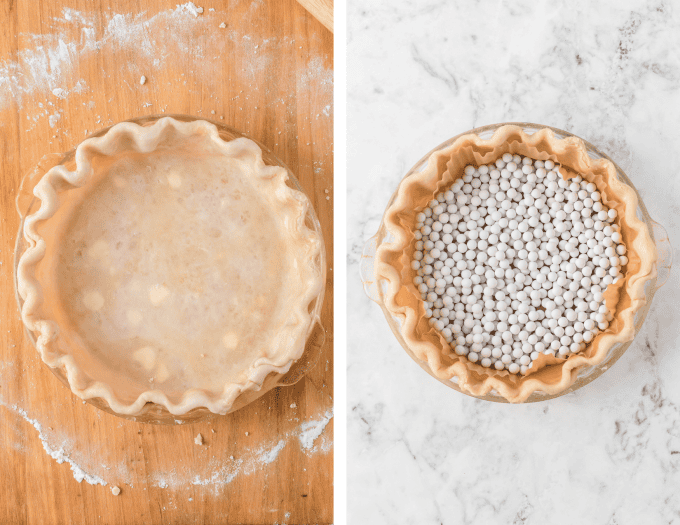
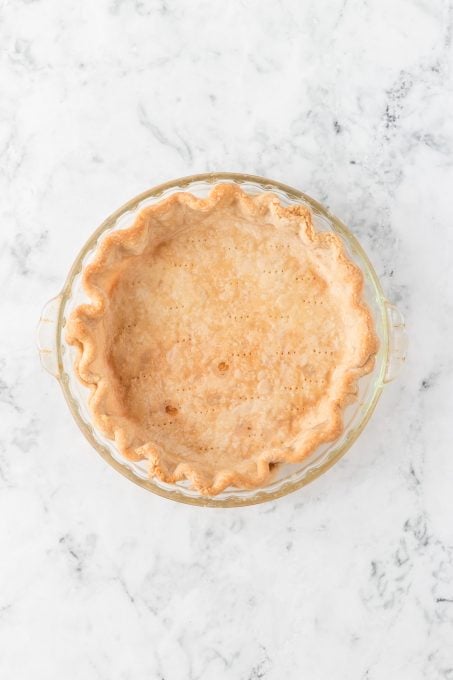
- Use the tines of a fork to place holes over the bottom and sides of the dough. Place into the refrigerator for at least 15 minutes to chill again before proceeding with blind-baking or fill the pie and refrigerate. The colder your dough is when it goes into the oven, the flakier it will be, and it will also help prevent shrinking as it bakes.
Note: This recipe makes enough dough for one crust. If you need a double crust for your pie, you can double the recipe and divide the dough in half.
How to Flute a Pie Crust
There are lots of ways to make a beautiful, decorative pie crust. You can use a fork to crimp the edges, or you can roll the crust and use your fingers to flute the pie crust.
Do not remove any excess dough hanging over the side. Fold the excess dough under to create a thicker base to crimp or flute the edges.
When making a pie with two crusts, fold the top crust under the bottom overhanging crust to form your edge.
Use two hands for a fluted pie crust. Push the index finger of one hand into the pie crust from the inside of the pie, pushing in between the thumb and index finger of the opposite hand which is on the outside of the crust, creating a “U” or “V” shape. Work your way around the crust in a circle, spacing the flutes about an inch apart.
How to Refrigerate Crisco Pie Crusts for Later Use
This dough can be refrigerated for up to three days wrapped it in plastic wrap.
For longer storage, double wrap the disc in plastic wrap and freeze for up to 6 months! Thaw overnight in the refrigerator before filling and baking.
FAQs
When do I need to Blind Bake a Pie Crust?
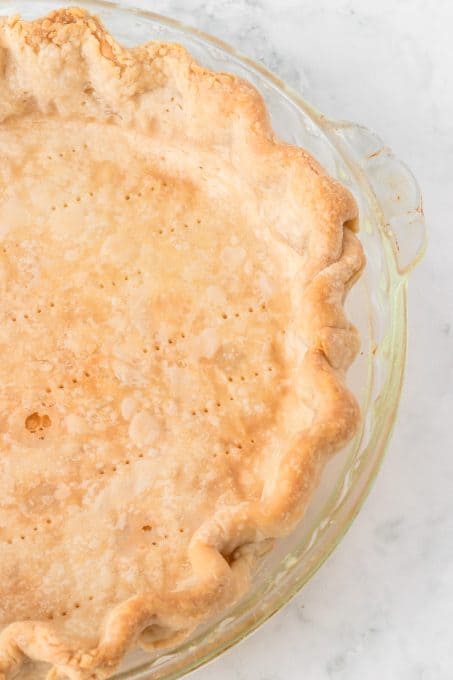
Blind baking is when you fully bake the unfilled pie crust so it cooks all the way through. It is only truly necessary when the filling isn’t baked (like a cream pie or lemon meringue). However, many people prefer to par-bake (partially bake) or blind bake pies with a runny filling, like pumpkin pie or pecan pie. Others always blind bake their crusts!
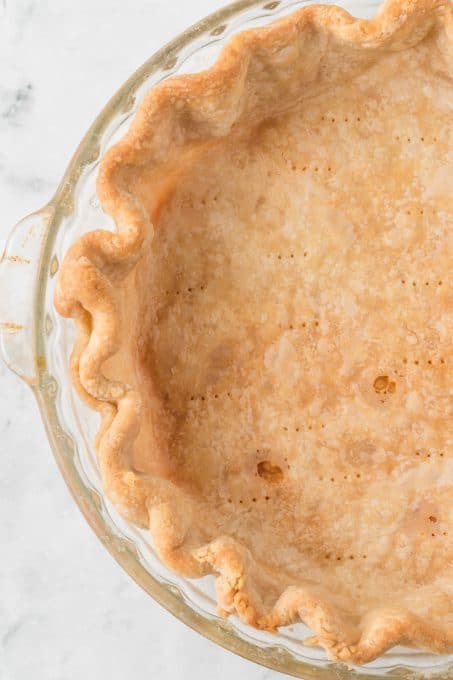
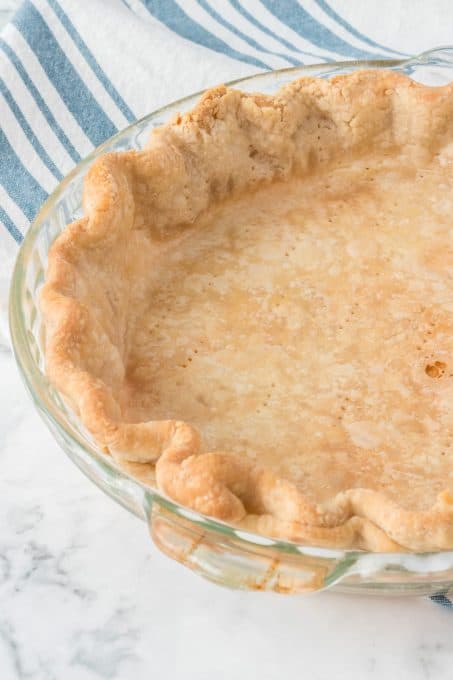
If you need to par-bake or blind bake your crust, it’s easy! Once your pie crust is trimmed and fluted, prick it all over with the tines of a fork and pop it in the fridge to chill it for 15-20 minutes.
Next, loosely line your pie crust with a pre-formed pie parchment liner or a piece of parchment paper, then fill it with these pie weights that I’ve come to love or dried beans. Note- if you use beans, you can reuse them over and over as pie weights, but you can’t use them for cooking once you’ve used them to blind bake. Just keep them stored in an airtight container.
Bake the pie as directed in your recipe.
Can I use an egg wash on my pie crust?
An egg wash (beaten egg plus water) creates a gorgeous golden brown finish on pie crusts. It also helps the crust from getting soggy. It’s optional, but yes, you can absolutely use an egg wash on homemade pie crust if you like!
Tips for Rolling out a pie crust
For great tips on making the perfect pie crust, see the numbered instructions above.
Filling Suggestions
I’ve got all sorts of homemade pies you should try with this delicious pie crust! Here are some of my favorites:
- Warm blueberries, a soft, beautifully decorated pie crust, and an empty stomach will make this Blueberry Pie a no-brainer family dessert
- This Pineapple Pie is perfect for summer, with a delicious, flaky double crust filled with crushed pineapple! Top it with ice cream for a special treat!
- This Apple Cream Pie is a favorite for the holidays, but with apples covered in a cinnamon sugar mixture surrounded by heavy cream, this pie is a favorite all year round
- Chocolate Peppermint Cream Pie is sure to be a big crowd-pleaser during the holidays with its smooth and creamy chocolate filling, peppermint extract, and fluffy whipped topping covered in peppermint candy!
- Lemon Chess Pie is another creamy dessert that screams spring and summer! I love lemon, and this pie satisfies all my lemon cravings!
- The BEST Pecan Pie is another holiday favorite, but truthfully, I’d eat this decadent pie anytime! The gooey pecan filling is something worth splurging on!

For savory pies, try a Turkey or Chicken Pot Pie in this homemade crust! It truly brings a classic comfort food dish to the next level.
What’s your favorite pie? Share in the comments below!

FOLLOW ME
FACEBOOK ~ PINTEREST
INSTAGRAM ~ TWITTER
YOUTUBE
Keep an eye out for more of my easy recipes each week!
Want to Save This Recipe?
Enter your email & I’ll send it to your inbox. Plus, get great new recipes from me every week!
By submitting this form, you consent to receive emails from 365 Days of Baking and More.
Homemade Pie Crust
Equipment
Ingredients
- 1 ½ cup all-purpose flour
- ¼ teaspoon kosher salt
- ½ cup shortening
- 3 tablespoons unsalted butter chilled
- 3-4 tablespoons cold water
Instructions
- Fill a cup with water add a bit of ice to it before starting and gathering your ingredients.
- Combine the dry ingredients (flour and salt) in a medium bowl. Add the shortening and butter to the flour mixture, then use two forks or a pastry cutter to cut it into the flour until the mixture resembles a coarse meal or peas. It should have a uniform texture but will be a combination of crumbs and small bits and pieces.
- Add the ice cold water a tablespoon at a time and stir gently with a fork or rubber spatula until the dough starts to hold together. If you add too much water, the dough will be sticky. Also, be careful not to over-mix it or it will be tough!
- Once the dough forms, shape it into a ball, wrap it tightly in plastic wrap, and then pat it down into a disc. Refrigerate it for at least 24 hours. Two hours, or a shorter amount of time or not refrigerating at all is not sufficient as the dough will be chilled on the outside and still warm inside making it sticky when you work it. A really COLD dough is SO much easier to work with and reduces its' ability to tear. Also, DO NOT allow it to warm up or come to room temperature before rolling, keep it COLD!
- When ready to roll it out, unwrap it from the plastic and place the dough on a clean work surface that's been lightly floured. Using a lightly floured rolling pin, evenly distribute hard smacks on the dough 10-15 times to make it more pliable.
- Roll the dough into a large circle about two inches larger than your pie pan. Do this by rolling a couple times from the 12 o'clock to 6 o'clock positions. Always stop rolling before you get to the edge, as doing so will make the edges too thin. Turn the dough 180 degrees and roll again from 12 to 6, lightly adding flour to your work surface, if needed. Then turn the dough 90 degrees and roll the same way. Rotating the dough will also help prevent it from sticking. If the dough is cold enough, and by working quickly and efficiently, you should only need a minimal amount of flour to keep it from sticking to your work surface and rolling pin. Adding too much flour will make the dough tough. Continue rotating 90° and rolling until you have created a circle that is at least 2-inches larger than your pie plate. If there are edges that are a bit straight, use the end of the rolling pin to curve from the middle of the dough out to the edge. Also, if cracks form at the edges, push the dough together by cupping your hand, helping to form the outer edge of the circle, and gently push towards the middle. Then roll again as directed.
- To transfer to the pie dish, roll it up and over the rolling pin or fold it in half. Drape it loosely over, then fit it into the pan by gently lifting the edges of the dough so that it settles at the bottom and along the sides, never pressing or forcing as that will tear it.
- When making a one-crust pie, do not trim the edges. Just fold the excess dough under creating a thicker base to crimp or flute the crust (see below). When making a double-crust pie, fold the top crust under the bottom overhanging crust to form your edge, and then crimp.
- Use the tines of a fork to place holes over the bottom and sides of the dough. Place into the refrigerator for at least 15 minutes to chill again before proceeding with blind-baking or fill the pie and refrigerate. The colder your dough is when it goes into the oven, the flakier it will be, and it will also help prevent shrinking as it bakes.
- Follow baking instructions according to your desired recipe.
Notes
- This recipe makes enough dough for a single pie crust. If a double pie crust is needed, then simply double the recipe and divide the dough evenly in half.
- To Blind-Bake: place a pre-formed pie parchment in the pan, and fill with ceramic pie weights, so that the crust stays flat when baking.
- See post for additional tips and details.

Comments & Reviews
Worst pie crust recipe I’ve ever tried. Followed the instructions to a “t”. Dough is impossible to work with. Tried two batches. Threw them in the trash. Do NOT send me recipes!