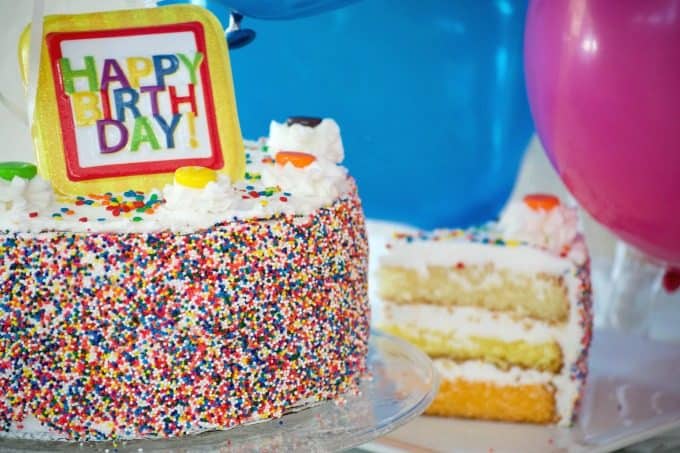
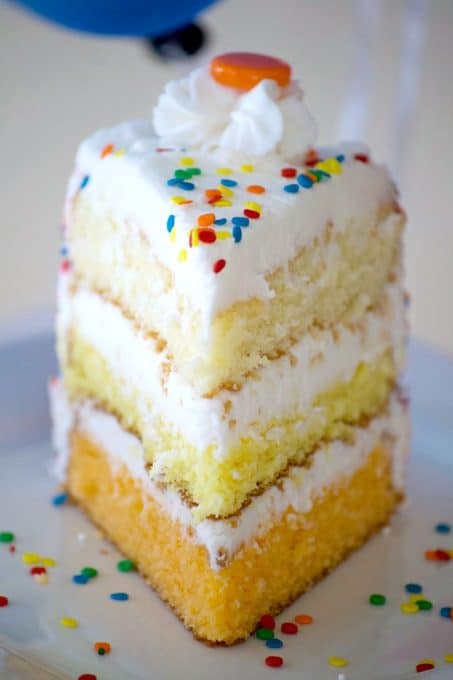
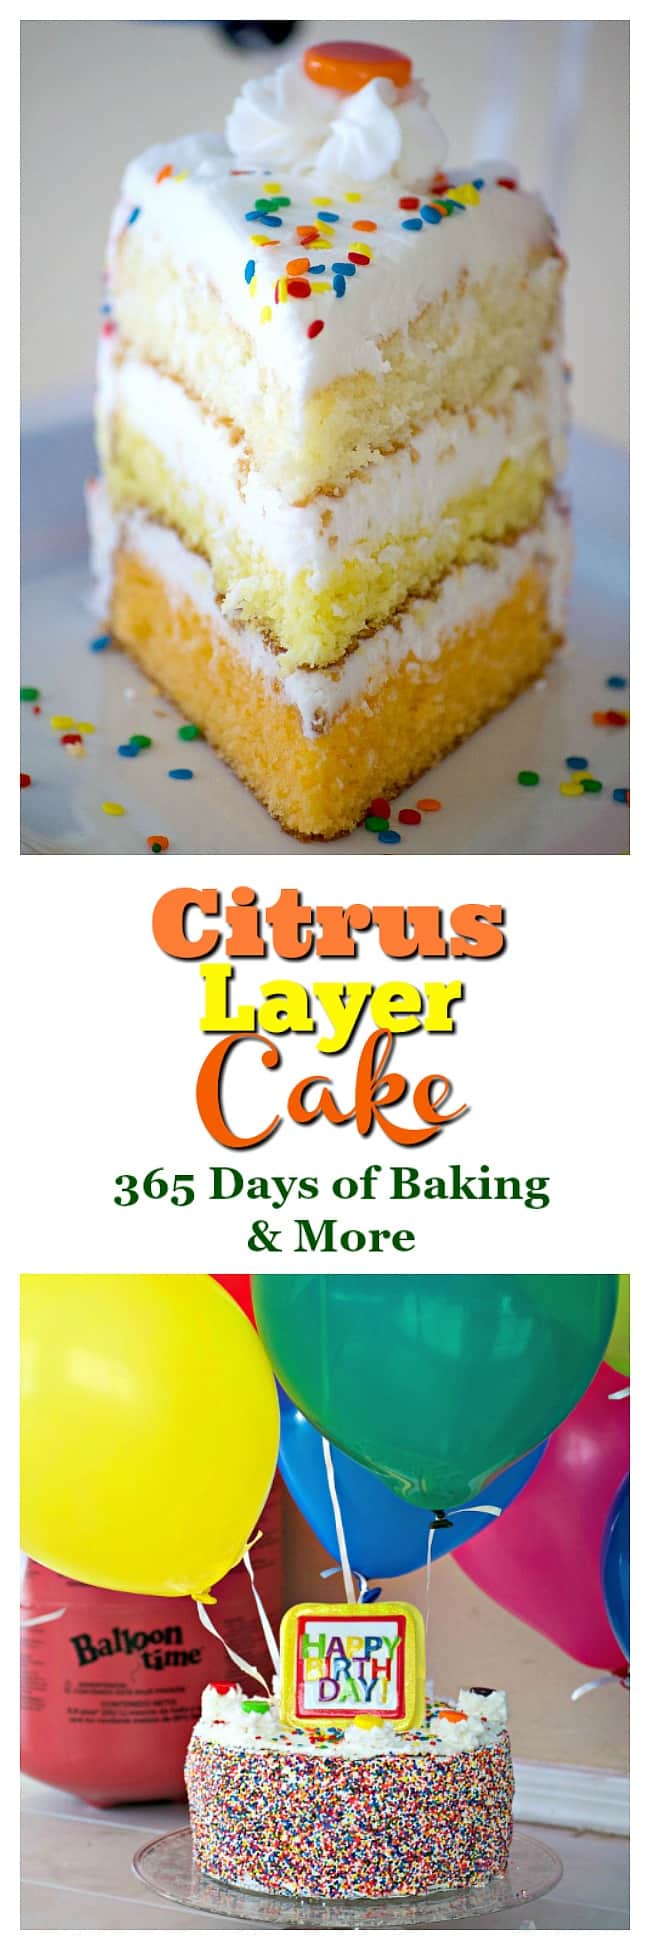
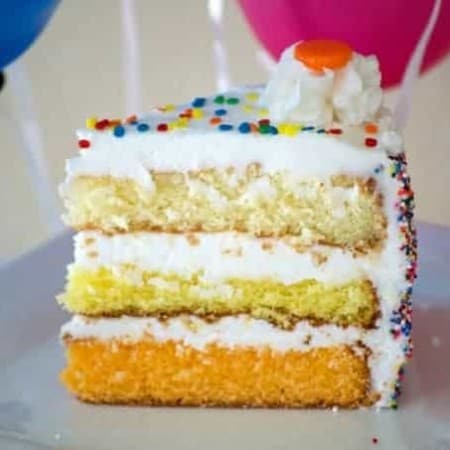
This Citrus Layer Cake with vanilla, lemon, and orange layers is colorfully decorated and made even more special adorned with helium-filled balloons from Balloon Time. It’s a fun and colorful birthday cake!
I’ve always enjoyed celebrating birthdays.
Especially when they’re mine. 😉
SAVE THIS TO CAKE TO YOUR FAVORITE PINTEREST BOARD!
However, one special lady in our family will be celebrating her 25th in just a few weeks.
How am I old enough to have a daughter that old?? Seriously?? I feel just 25 myself at times. Ok, 28. I hated turning 25.
Yet, it seems like yesterday she was a toddler coaxing her baby sister as she would the cat – bending down, rubbing her fingers together, and clicking her tongue. “Here, Emma, Emma.”
Granted she’d seen me call the cat that way, but I never used that method on any of my children.
Then there was the day she grabbed our Jeep exhaust pipe after we’d come home from shopping. Yeah, that wasn’t fun. I took her out of the car and was taking the groceries into the house when I heard her scream. That darn shiny pipe on our new car smack dab at her eye level was just too good to not reach for. Doggone it!
She’s not scarred and fortunately, that’s the extent of her childhood trauma.
In August, my baby leaves for Germany to become an au pair. She’s excited and I’m extremely excited for her. It’s time for her to fly and spread her wings. I know this is a great opportunity and something she is very much looking forward to. It truly is the chance of a lifetime and I’m so excited that she’s going for it.
To celebrate her and because the two of us won’t be home for her birthday (more on that to come!), I decided, of course, to make her a cake. Yet, I couldn’t choose between this one of Oreos, this yummy cinnamon one, the Easy Tiramisu Poke Cake that we all really liked, or one of chocolate. Decisions, decisions.
I’d never made an ombre cake and wanted her cake to have all the colors, so to this Citrus Layer Cake, I added the lemon and orange to match the hues.
Lately, I’ve had the urge to roll a cake in rainbow nonpareils and when you have that urge, you just sort of go with it. I used this frosting recipe entirely with shortening because I knew it would be perfectly white, but you can use the combination of butter if you don’t mind slightly yellow tint.
~ FOLLOW ME ~
~ FACEBOOK ~ PINTEREST ~ INSTAGRAM ~ TWITTER ~
SIGN UP FOR THE WEEKLY 365 DAYS OF BAKING & MORE
WEEKLY NEWSLETTER!
JOIN THE 365 DAYS OF BAKING AND MORE FACEBOOK GROUP TO RECEIVE ADVANCE NOTICE OF MY LIVE FB VIDEOS, SHARE RECIPES AND MORE!
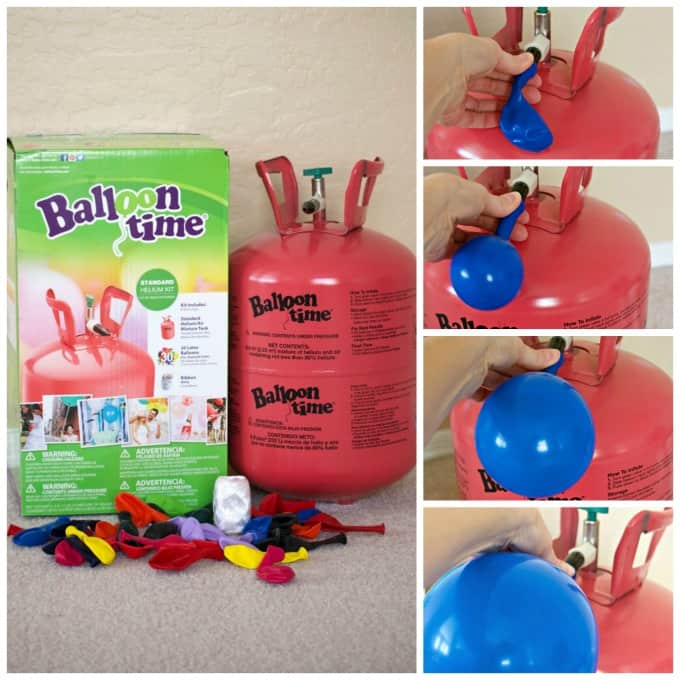
Also, balloons. You certainly can’t celebrate a birthday without balloons no matter how old you are. Am I right? They just make it more fun and festive, so I purchased a Balloon Time Helium Tank.
It comes with a small, lightweight pink tank filled with helium, 30 9-inch latex balloons, and ribbon. Absolutely perfect for what I needed and the balloons were so easy to fill, too! All you have to do is twist the green knob at the top, place a balloon over the black nozzle and press down.
Voila!
30 helium balloons filled in a matter of minutes, adorned with ribbon and ready to go. Just note to self for next time, turn the ceiling fans OFF before you let the balloons drift to the ceiling. Things could certainly become a little precarious.
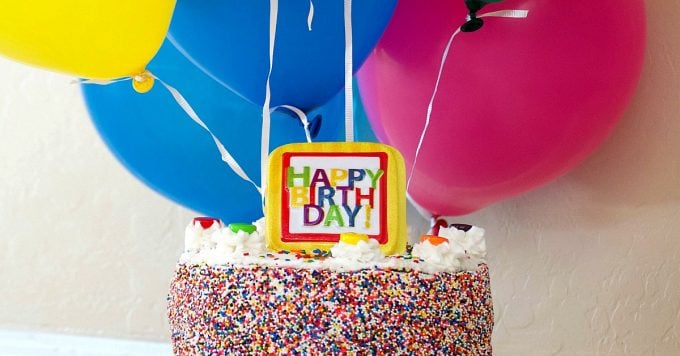
I also decided that since the cake was so colorful that it only made sense to attach the balloons to it. How much fun is a cake that has balloons on top of it? SO much fun!! All of the colors just went perfectly with the sprinkles and candies I’d decorated it with and it made the cake look like it was going to float away. Reminded me of the movie, “Up”. I loved that film.
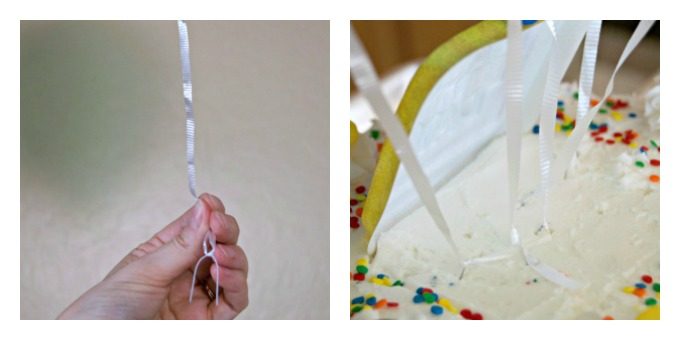
To hold the balloons securely to the top of the cake, I cut small pieces of white floral wire. I tied the ribbon to it as you can see above, folded the edges down and inserted it into the cake. I used 5 balloons for the cake and then placed the rest of them around the room. It was so cool and such a fun presentation for her birthday cake and celebration.
Just remember to remove the balloons from the cake before lighting any candles!
To decorate the Citrus Layer Cake, I used
-
different sized offset spatulas – made for easy spreading of the frosting
-
rainbow nonpareils around the outside of the cake. I gently poured them onto a rimmed baking sheet so they wouldn’t fly all over my kitchen.
-
8-inch cardboard rounds to hold both the top and bottom of the cake as I rolled it in the sprinkles. They worked like a charm!
Citrus Layer Cake
Ingredients
Vanilla Cake Layer
- ¾ cup + 2 tablespoons sifted cake flour
- 1 teaspoon baking powder
- ⅛ teaspoon salt
- ¼ cup milk
- ½ teaspoon pure vanilla extract
- ¼ cup unsalted butter room temperature
- ½ cup granulated sugar
- 1 egg
Lemon and Orange Cake Layers
- 1 ¾ cups sifted cake flour
- 2 teaspoons baking powder
- ¼ teaspoon salt
- ½ cup milk
- ½ cup unsalted butter room temperature
- 1 cup granulated sugar
- 2 eggs
- ½ teaspoon lemon extract
- 1 teaspoon fresh lemon zest
- yellow food coloring
- ½ teaspoon orange extract
- 1 teaspoon fresh orange zest
- orange food coloring
White Frosting
- 2 ½ cups solid vegetable shortening
- 2 ½ teaspoons CLEAR vanilla extract
- 10 cups confectioners' sugar
- 5 tablespoons milk
- 1 Balloon Time Helium Tank
- 26 gauge floral wire
- rainbow nonpareils
- colored candy for decorating
Instructions
- Preheat oven to 375 degrees F. and prepare 3 8-inch round baking pans by lining the bottoms with parchment and spraying them with a floured baking spray.
Vanilla Cake Layer
- Sift the flour with baking powder and salt.
- In a mixing bowl, cream the butter until light. Add sugar and beat until light and fluffy.
- Add the egg and vanilla, and mix well.
- Beginning and ending with the dry ingredients, add them to the butter, alternating with the milk.
- Mix until just smooth.
- Pour into one of the prepared baking pans.
- Bake 25 - 30 minutes or until the edges shrink from the sides and a toothpick inserted into the center comes out clean.
- Cool on a wire rack for 5 - 7 minutes. Remove from pan by inverting onto the cooling rack and then turn right-side up to cool completely.
- Clean the mixing bowl and continue with the remaining layers
Orange and Lemon Layers
- Sift the flour with baking powder and salt.
- In a mixing bowl, cream the butter until light. Add sugar and beat until light and fluffy.
- Add the eggs, one at a time, and mix well.
- Beginning and ending with the dry ingredients, add to the butter/sugar, alternating with the milk.
- Mix batter until just smooth.
- Pour half of the batter into a medium bowl and add the lemon extract, lemon zest and enough yellow food coloring to reach the desired hue. I added about 5 drops.
- Mix until thoroughly combined.
- Pour into one of the prepared baking pans.
- For the batter in the mixing bowl, add the orange extract, orange zest and enough orange food coloring to reach the desired hue. I added about 8 drops.
- Mix until thoroughly combined.
- Pour into the the remaining baking pan.
- Bake 25 - 30 minutes or until the edges shrink from the sides and a toothpick inserted into the center comes out clean.
- Cool on a wire rack for 5 - 7 minutes. Remove from pan by inverting onto the cooling rack and then turn right-side up to cool completely.
White Frosting
- In a clean mixing bowl, cream the shortening until smooth and fluffy.
- Mix in the vanilla.
- Add the confectioners' sugar one cup at a time, scraping down the sides and the bottom of the bowl as needed. The icing will appear dry after all of the sugar had been added.
- Slowly add the milk and beat until light and fluffy.
- Cover with a damp cloth while not using.
Cake Assembly
- Place the Orange layer onto a 8-inch cardboard round.
- Using 1 - 1 1/2 cups of frosting, frost the top.
- Place the Lemon layer onto the frosted top of the Orange cake.
- Again use 1 - 1 1/2 cups of frosting to cover.
- Place the Vanilla layer onto the Lemon, but do not frost.
- With an offset spatula, spread a thin layer of frosting all around the outside of the cake, but not the top. This is the crumb coat and will prevent cake crumbs from being spread through the thicker frosting layer. At this point, be sure to evenly fill in any holes in between each of the layers.
- Refrigerate for at least half an hour to set.
- With a clean offset spatula, spread a thicker layer of frosting on the sides over the crumb coat.
- Carefully pour the rainbow nonpareils onto a medium rimmed baking sheet.
- Place an 8-inch round cardboard on top of the cake. Gently lift the cake and holding both the top and bottom, slowly and carefully roll the cake in the sprinkles until it is completely covered.
- Place cake on serving platter. Frost the top of the cake with a thin crumb coat and then with a thicker layer.
- Decorate cake with more frosting if desired using a 1M tip and additional colored sprinkles and candies.
- Fill the balloons with helium and tie them with assorted lengths of ribbon.
- Cut small pieces of the floral wire and tie the balloon string to it. Bend the edges and place into the cake. I placed 5 balloons, attached with wire into the top of the cake.
Your next birthday celebration will be that much more special when you make this Citrus Layer Cake and use a Balloon Time Helium Tank. Kids and adults will enjoy the fun and added excitement it brings to the party!
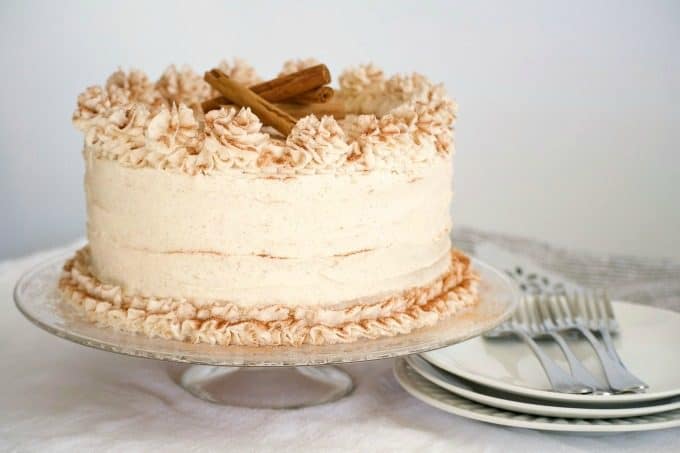
Don’t forget these other delicious cakes to go with a birthday or just because!
Cinnamon Roll Layer Cake
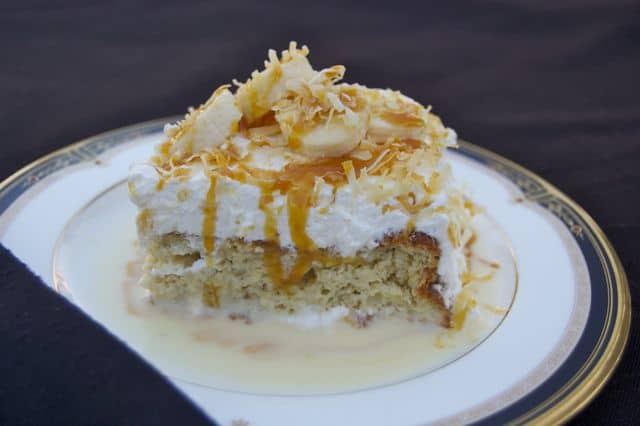
Banana Tres Leches
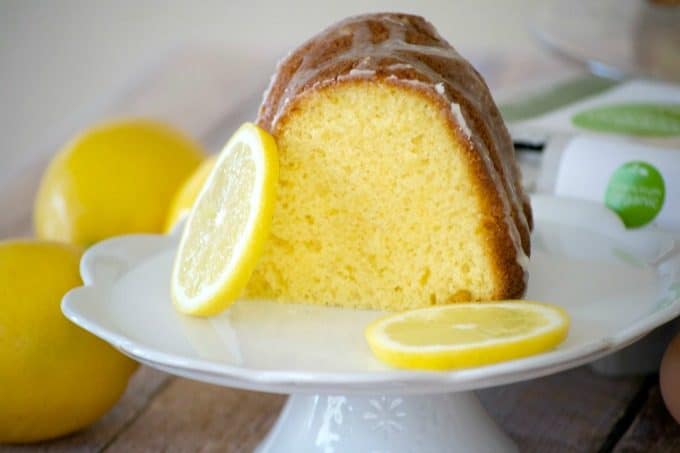
Easy Lemon Cake
Take a look at these fun videos of kids with birthday cakes…
This is a sponsored conversation written by me on behalf of Balloon Time. The opinions and text are all mine.
