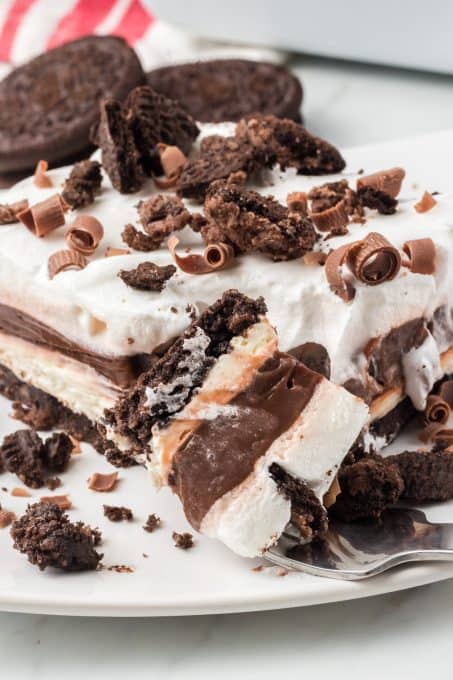
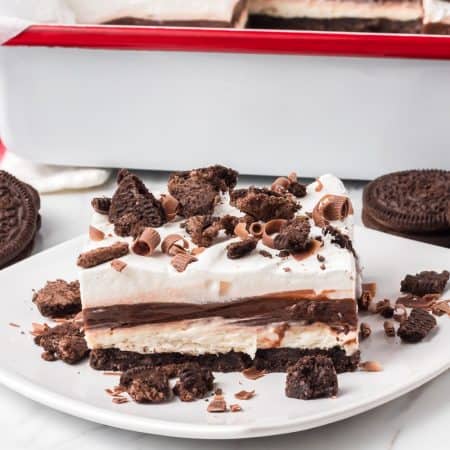
If you’re in the mood for chocolate, but don’t want to heat up the oven, Chocolate Dream Bars are the perfect no-bake dessert for you! Silky chocolate pudding and whipped cream are layered in a crunchy Oreo cookie crust. You’ll want to make this easy dessert for all your backyard gatherings this summer!
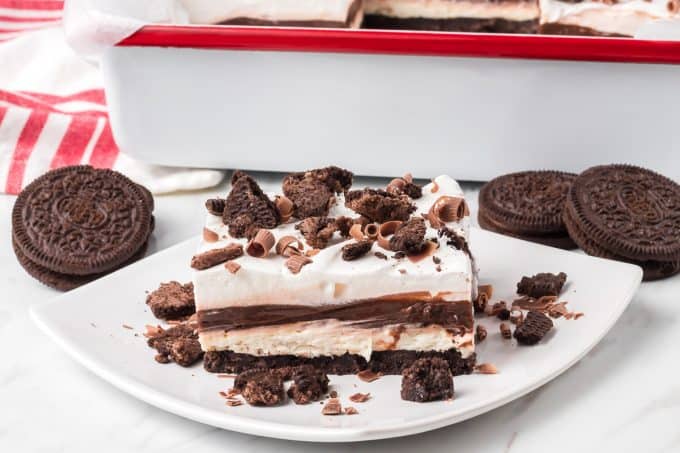
I love chocolate pudding! It takes me back to my childhood, where I remember patiently waiting for the creamy chocolate pudding to set up in the fridge so I could have some for dessert topped with whipped cream! I also loved chocolate pudding pops!
This Chocolate Dream Bar recipe elevates that pudding from your childhood with homemade whipped cream and a delicious cookie crust. Trust me, this dessert recipe is a keeper with just the right amount of everything in each layer!
SAVE THIS CHOCOLATE DESSERT LASAGNA RECIPE TO YOUR FAVORITE PINTEREST BOARD!
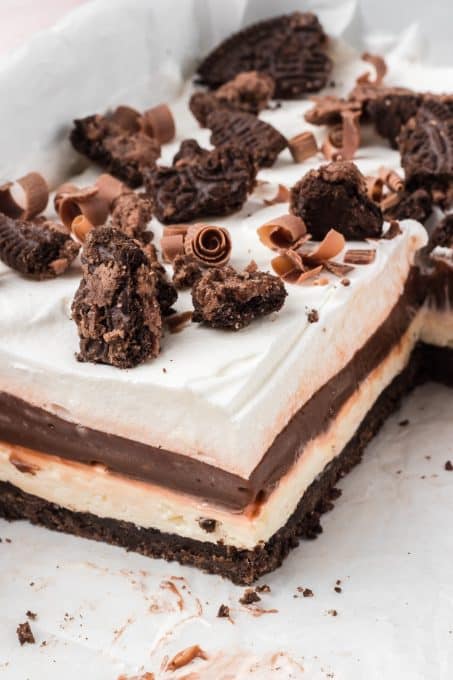
What are Dream Bars?
If you’ve been around for a while, you might know I’m kind of known for my Dream Bar recipes! They are some of my favorite dishes and some of the most popular recipes on my site. But if you’re new, let me explain what they are:
Also known as “lush” or “dessert lasagna”, Dream Bars are just layered desserts of all different flavor combinations. They are almost always no-bake recipes, with the occasional exception of a baked crust. Your whole family will love these decadent bar treats!
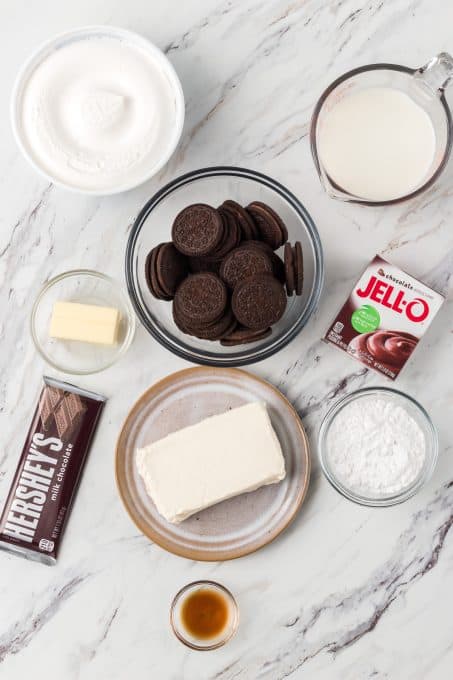
Ingredients for Chocolate Dream Bars, aka Chocolate Lush
You only need a short list of ingredients for these dessert bars:
- Chocolate Oreos
- Unsalted butter
- Chocolate pudding mix
- Milk– use 2% or whole milk. Skim milk is okay but may affect the taste and texture.
- Cream cheese, room temperature
- Powdered sugar
- Cool Whip (or 1 recipe of my Stabilized Whipped Cream)
- Milk Chocolate bar: I used a Hershey bar to make chocolate curls for the top.
Refer to the recipe card below carefully for exact amounts and instructions.
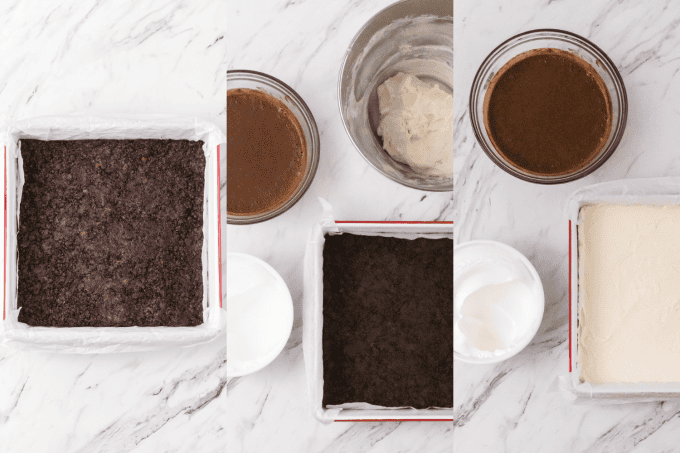
How to make Chocolate Dream Bars
This chocolate lasagna dessert takes some time to set up, but it is super easy to make!
Cookie Crust
- Line an 8 X 8-inch baking pan with parchment paper so that it comes up and just over the long sides. This will make it easier to lift the bars out of the pan to cut and serve more precise slices when serving, but this step isn’t absolutely necessary. You can use nonstick cooking spray instead.
- In a blender or food processor, finely crush 20 of the cookies. No need to remove the filling! Place the remaining 10 cookies in a small resealable bag and crush them with a rolling pin or with your fingers. You will sprinkle those on top of the final layer of Cool Whip.
- In a medium bowl, melt the 1/4 cup butter in the microwave for about 30 seconds. Add the cookie crumbs to the melted butter and mix the crust ingredients together until well moistened.
- Put the crumb mixture into the prepared pan and spread it to the corners, patting down with your hands or a rubber spatula to make a level crust. Place the pan into the freezer for at least 30 minutes to harden.
Pudding Layer
In a mixing bowl, mix the chocolate pudding with the 1 ½ cups of milk in the bowl of a stand mixer with the paddle attachment or using an electric mixer on medium speed. Do not use the two cups of milk as stated on the box of the pudding, as we want the pudding to be a bit more stable and thick.
Place the bowl in the refrigerator to set while you prepare the cheesecake layer.
Cheesecake Layer
- In a large bowl, beat the cream cheese until smooth. Add the powdered sugar and vanilla and mix thoroughly, making sure to scrape the sides and bottom of the bowl. Fold in one cup of the Cool Whip (or stabilized whipped cream) until completely combined.
- Place dollops of the cream cheese over the frozen crust and spread into an even layer.
Assembly
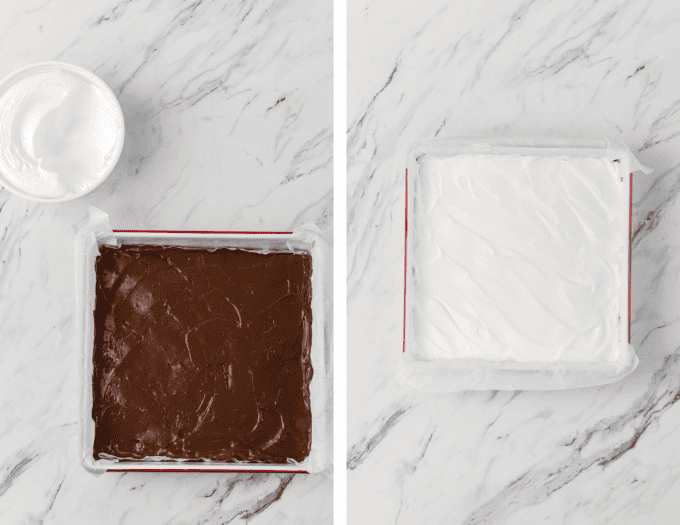
- Spread the pudding on top of the cream cheese layer by first placing dollops and then spreading the pudding to the corners and sides of the pan. An offset spatula works great for this.
- Spread the remaining Cool Whip or stabilized whipped cream over the top of the pudding. Refrigerate for a minimum of two hours or freeze for one hour before serving.
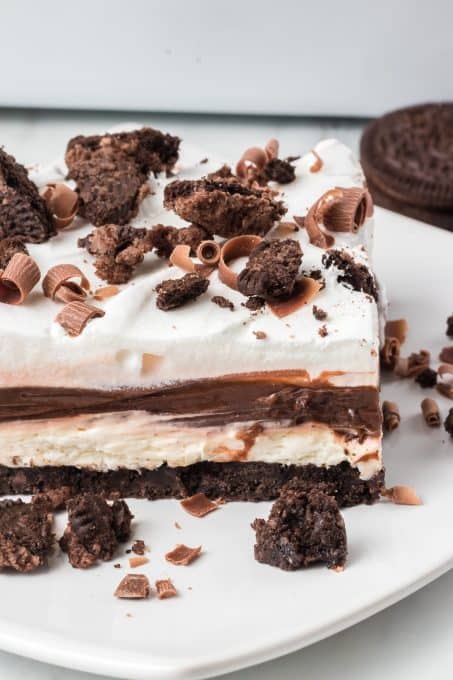
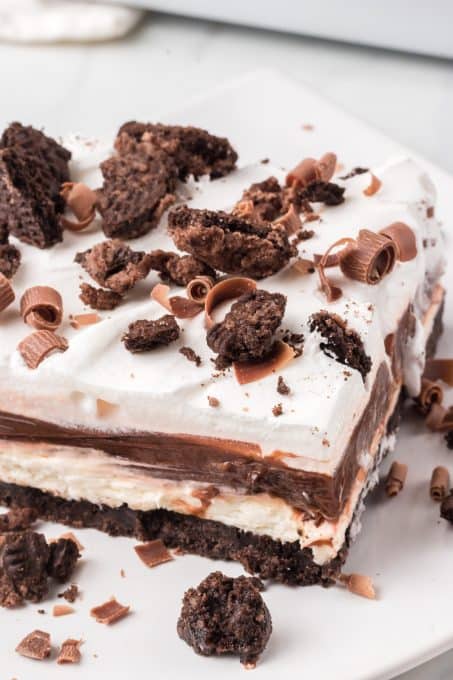
- Using a vegetable peeler, gently scrape the side of the chocolate bar to create chocolate curls. Sprinkle the curls and crushed cookies over the top. You could even give a light dusting of cocoa powder!
How to serve Chocolate Dream Bars
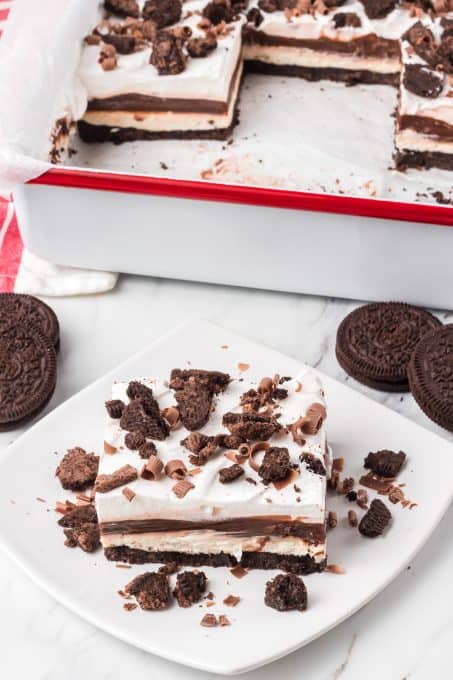
- If you lined the baking pan with parchment paper, use the overhanging edges to remove the entire dessert lasagna from the pan to a cutting board.
- Run a large knife under hot water, dry it off, then slice through the chocolate lush, repeating with each cut. This will help make clean cuts.
- Cut the Dream Bars into small squares for a beautiful presentation!
Recipe Tips
- Add chocolate chips to the pudding layer for a Chocolate Chip Dream Bars recipe.
- Add a drizzle of chocolate syrup or hot fudge when serving for extra chocolatey goodness!
How to store Dream Bars
Keep these bars tightly covered with plastic wrap or in an airtight container in the fridge for another 2 days. Serve leftovers directly from the fridge!
Can I make these ahead of time?
You can make them up to 24 hours in advance and keep them in the fridge until ready to serve.
More Dream Bars to Try
If you love easy recipes like these no-bake desserts, you’ll love the rest of my Dream Bar recipes. They make the best Fourth of July desserts (or other occasions like Mother’s Day or Graduation), and there’s a flavor for everyone. Plus, I’m always creating new ones, so watch for them!
Here are some of my favorites:
- Lemon Dream Bars– layers of cream and sweet lemony goodness on a cookie crust!
- Turtle Dream Bars– chocolate, caramel, and pecans in an Oreo Cookie Crust.
- Orange Creamsicle Dream Bars– just like the classic ice cream treat, made in a golden brown Nilla wafer crust!
- Chocolate Mint Dream Bars– chocolate and mint go hand in hand!
- Strawberry Cheesecake Dream Bars– all the flavors of summer in a sweet bar form!
- Chocolate Peanut Butter Dream Bars– chocolate and creamy peanut butter layers in a cookie crust!
Do you have a Dream Bar flavor suggestion for me? I’d love to give it a try! Let me know in the comments below.
Chocolate Dream Bars
Ingredients
- 30 Chocolate Oreos with filling divided
- 4 tablespoons butter
- 3.9 ounces chocolate pudding
- 1 ½ cups milk
- 8 ounces cream cheese room temperature
- ½ cup powdered sugar
- ½ teaspoon pure vanilla extract
- 8 ounces Cool Whip or 1 recipe of this Stabilized Whipped Cream divided
- plain Hershey Bar or chocolate bar for chocolate curls for garnish
Instructions
- If desired, line an 8 X 8-inch baking pan with parchment so that it comes up and just over at least two of the sides. This will make it easier to lift the bars out of the pan to cut and serve more precise slices when serving, but isn't necessary.
- In a blender or food processor, finely crush 20 of the cookies. Place the remaining 10 cookies in a small resealable bag and crush with a rolling pin or with your fingers. You will sprinkle those on top of the final layer of Cool Whip.
- In a medium microwaveable bowl, melt the butter in the microwave for about 30 seconds. Stir to melt completely, if needed. Add the cookie crumbs to the butter and mix together until well moistened.
- Put the crumb mixture into the baking pan and spread to the corners, patting down to make a level crust. Place pan into the freezer for at least 30 minutes to harden.
- In a small mixing bowl, combine the chocolate pudding with the 1 ½ cups of milk. Do not use the two cups of milk as stated on the box of the pudding, we want the pudding to be a bit more stable and thick. Place into the refrigerator while you prepare the cheesecake layer.
- In a medium mixing bowl, beat the cream cheese until smooth. Add the powdered sugar and vanilla and mix thoroughly. Fold in one cup of the Cool Whip (or stabilized whipped cream) until completely combined.
- Place dollops of the cream cheese over the frozen crust and spread into an even layer.
- Do the same with the pudding on top of the cheesecake, placing dollops and spreading to the corners and sides of the pan.
- Spread the remaining Cool Whip or stabilized whipped cream over the top of the pudding. Refrigerate for a minimum of two hours or freeze for one hour before serving.
- Using a vegetable peeler, gently scrape the side of the chocolate bar to create chocolate curls. Sprinkle the curls and crushed cookies over the top.

Leave A Reply!