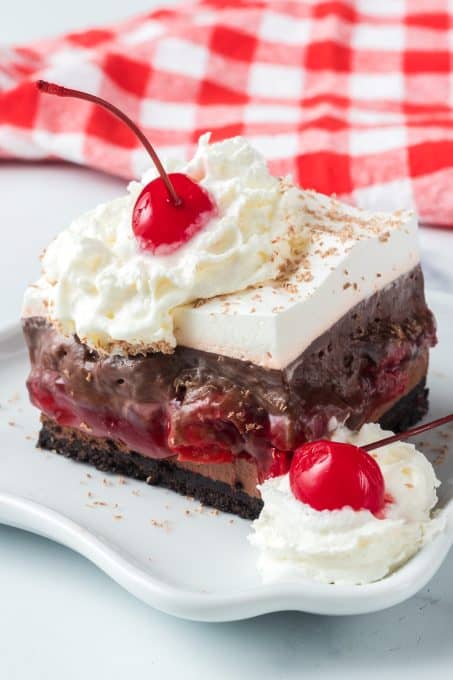
Black Forest Dream Bars are pure cherry-chocolate bliss! You’ll love the rich combination of a chocolate cheesecake layer, cherries, pudding, and whipped topping in this easy black forest dessert recipe. It’s a great dessert for a weeknight or impressive enough for special occasions.
Do you know about the magic of dream bars?
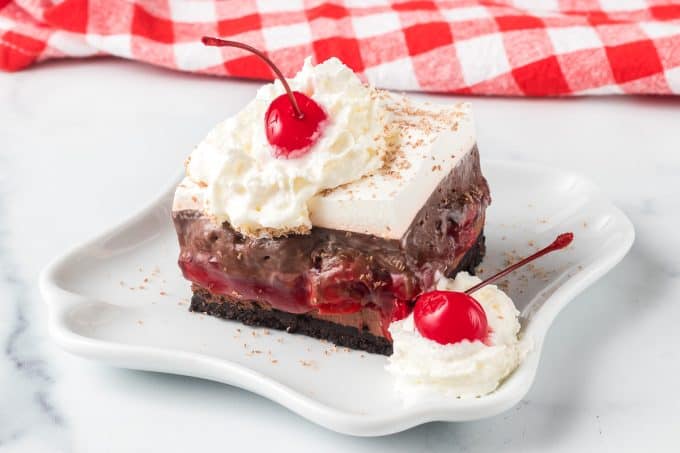
Dream bars are essentially no-bake cheesecake bars you can top with all different kinds of layers. Each one has a cookie crust, a sweetened cream cheese layer, pudding and whipped topping. I have dozens of variations on the blog from Strawberry Cheesecake Dream Bars to Chocolate Mint.
SAVE THIS BLACK FOREST DESSERT RECIPE TO YOUR FAVORITE PINTEREST BOARD!
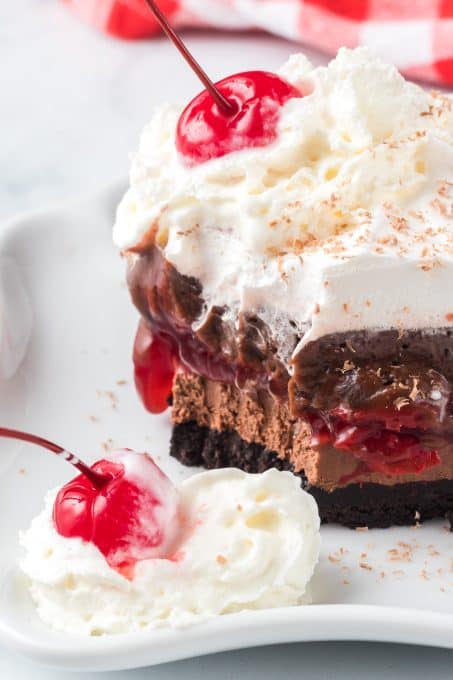
Now we’re adding another to the mix with these Black Forest Dream Bars! This is a no bake recipe with flavors inspired by the luscious chocolate and cherry flavors in a black forest cake recipe, like these Black Forest Cupcakes.
Wondering what makes a dessert a “black forest” dessert?
Surprisingly, it has nothing to do with the dark chocolate color of most black forest desserts (that we’re aware of). And there’s certainly no trees or forests involved!
Black Forest desserts include rich chocolate and cherry flavors. The original black forest cake has roots in Germany. It’s named after a mountain range and a brand of cherry liqueur which was traditionally used to infuse black forest recipes with their cherry flavor. The German dessert schwarzwälder kirschtorte or black forest gateau is by far the most popular form.
Cool, huh?
Now that the history lesson is out of the way, let’s make a delicious chocolate cherry dessert!
This particular dessert recipe doesn’t contain the cherry liquer, so it’s suitable for the kids.
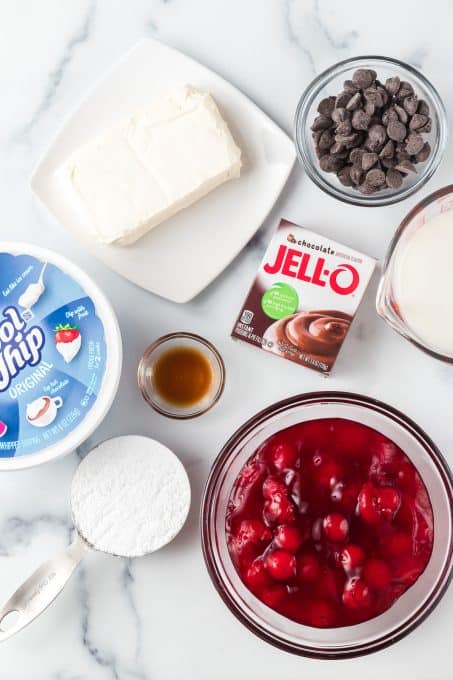
What are the main ingredients for this sweet treat?
This black forest recipe has five components all layered on top of one another: Oreo pie crust, chocolate cheesecake, cherry pie filling, pudding, and the toppings.
For the Oreo pie crust:
- Dark chocolate Oreos
- Butter
For the pudding layer:
- Instant chocolate fudge pudding mix
- Milk
For the chocolate cheesecake filling:
- Cream cheese – room temperature
- Powdered sugar
- Dark chocolate cheesecake
- Vanilla extract
- Cool whip – or try my homemade stabilized whipped cream made with heavy whipping cream
Finally, here’s what you need for the topping:
- Cherry pie filling
- Hershey’s chocolate bar
- Cool Whip
- Maraschino cherries – We used the long stem variety for decoration.
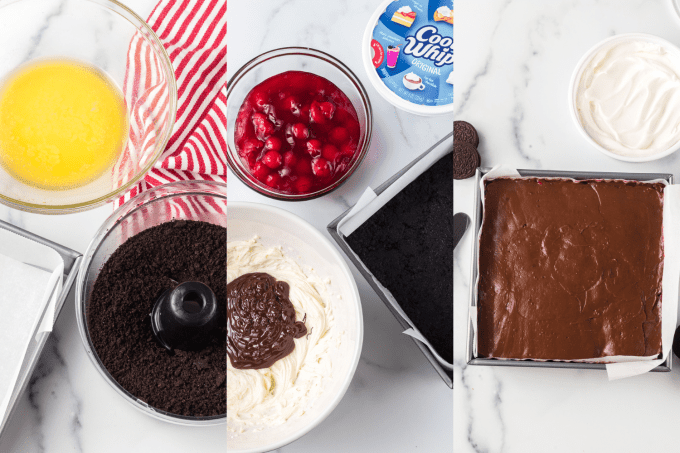
How do I make them?
Start by crushing the Oreo cookies in a food processor, and combining them with butter to form a crust. Press them into a 9-inch pan and freeze for 30 minutes.
Melt the chocolate chips in a small bowl in the microwave. In a large bowl, beat together the cream cheese, powdered sugar and vanilla with an electric mixer on medium speed until well blended. Mix the melted chocolate into the cream cheese mixture. Fold in one cup of the Cool Whip. This is your cheesecake filling.
In a separate medium bowl, whisk together the pudding mix and milk to create the chocolate pudding layer.
Once all the layers are ready, it’s time to take the Oreo crust out of the freezer and assemble an incredible chocolate cherry dessert!
- With an offset spatula, spread the cheesecake filling over the Oreo crust.
- Cover with the can of cherry pie filling.
- Top with the chocolate pudding layer.
- Add the remaining Cool Whip on top.
- Make chocolate shavings with a vegetable peeler. Sprinkle the shaved chocolate over the cool whip.
- Chocolate Covered Cherries are a great addition for the top or you can garnish with plain maraschino cherries!
Refrigerate the bars for a total time of at least 2 hours before serving. Slice and enjoy!
Tips & Tricks
- The chocolate pudding should be made with only 1 1/2 cups of milk, NOT the 2 called for on the box. This creates a more stable pudding consistency that’s perfect for dream bars!
- To melt the chocolate chips, place them in a microwave safe bowl and heat for 30 seconds. Stir and repeat until the chocolate is melted and smooth.
- Don’t forget to line your pan with parchment paper before pressing the Oreo crust into the bottom! This makes it easy to remove the bars from the pan, and slice. It also makes clean up a breeze!
- Store leftover Black Forest Dream Bars tightly covered with plastic wrap in the refrigerator. They will last for up to 5 days.
Dream Bar Desserts
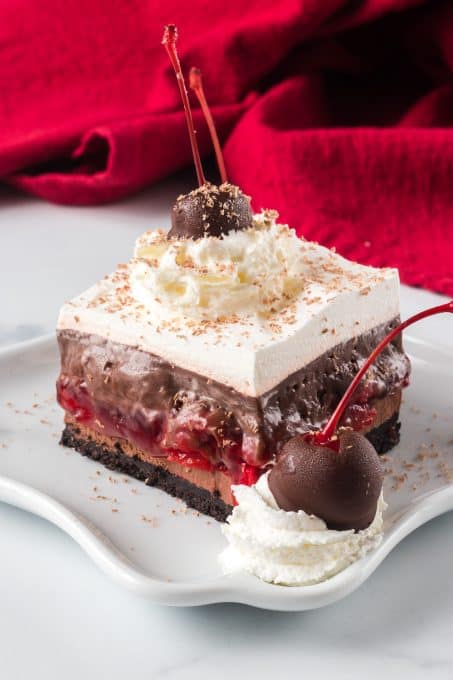
I know you’ll love the cherry chocolate flavors in today’s dream bars. One of the best things about these great recipes is that there are nearly endless flavor combinations you can make. Maybe that’s why I have a dream bar recipe for every craving, occasion and season!
Black Forest dream bars are all about the rich dark chocolate taste. My Chocolate Peanut Butter Dream Bars is another super easy chocolate dessert to satisfy your sweet tooth. If white chocolate is more your style, make these Biscoff White Chocolate Dream Bars instead.
Take a look at all the dream bar recipes our readers love!
- Blue Raspberry Dream Bars
- No Bake Raspberry Cream Dream Bars
- Strawberry Cheesecake Dream Bars
- Blueberry Almond Dream Bars
- Banana Pudding Dream Bars
- Irish Cream Dream Bars
- Easy No Bake Turtle Dream Bars
- No Bake Pumpkin Dream Bars
- Orange Creamsicle Dream Bars
- Cranberry Orange Dream Bars
- Red Velvet Cherry Dream Bars
- Peanut Butter Cookie Dough Dream Bars
Chocolate and Cherry Desserts
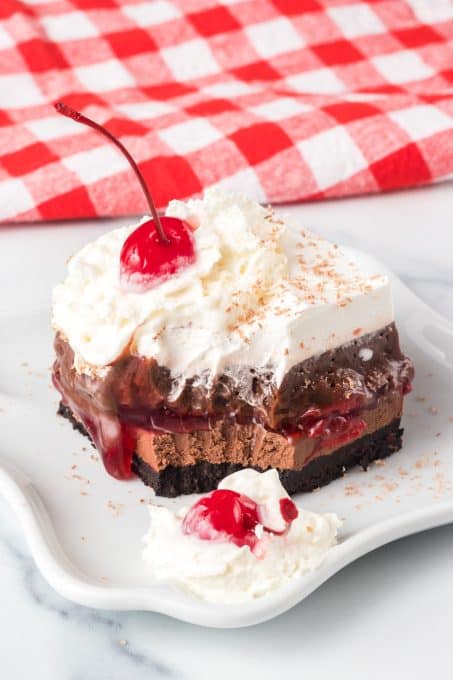
Black forest desserts aren’t the only way to enjoy the delicious combination of cherries and chocolate. No Bake Cherry Hot Chocolate Cheesecake is another no bake dessert with cherries, chocolate and a creamy cheesecake.
Chocolate Cherry Dump Cake is even easier to make than even the easiest dream bar recipe. You only need four ingredients and a baking pan; no mixing bowl required! If you’re looking for a dessert you can eat with your hands, we have the perfect Chocolate Cherry Cookies recipe! Or give our Dark Chocolate Cherry Oatmeal Cookies a try!
One of the most impressive chocolate and cherry recipes I’ve made is this Cherry and Dark Chocolate Galette. It might become a new tradition for Valentine’s Day, like these Chocolate Cherry Pancakes!
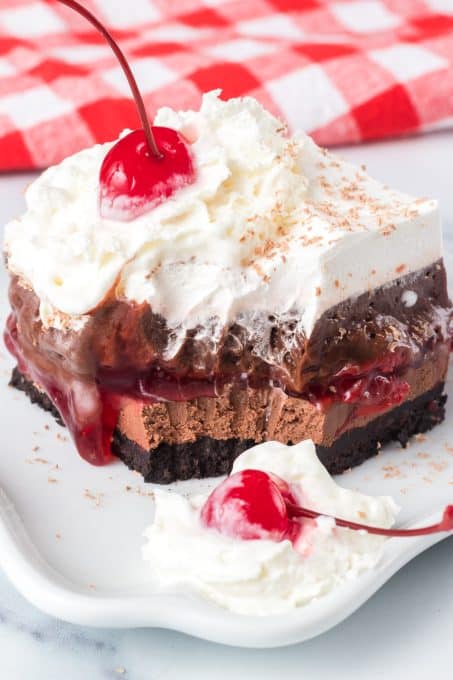
These Black Forest Dream Bars combine juicy cherries, dark chocolate and creamy cheesecake in one easy decadent dessert recipe suitable for a weeknight dessert, holiday parties, Valentine’s Day and any day!
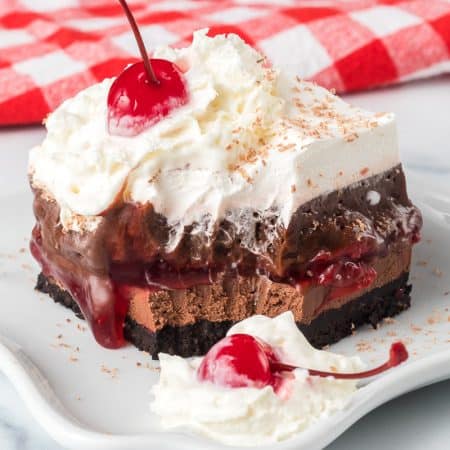
Black Forest Dream Bars
Ingredients
Crust
- 28 Dark Chocolate Oreos divided
- 5 tablespoons butter
Pudding
- 3.9 ounces chocolate fudge pudding
- 1 ½ cups milk
Chocolate Cheesecake
- 8 ounces cream cheese
- ½ cup powdered sugar
- ½ cup dark chocolate chips
- ½ teaspoon vanilla extract
Ingredients
- 8 ounces Cool Whip or 1 stabilized Whipped Cream Recipe divided
- 20 ounces cherry pie filling
- Hershey's chocolate bar for shavings
- long stem maraschino cherries for decoration
Instructions
Crust
- In a medium microwavable bowl, melt butter.
- Place 20 of the Oreos into a food processor or blender and pulse until fine crumbs. Pour into bowl and mix with the melted butter until well combined.
- Line an 8 X 8-inch baking pan with parchment, and put the cookie crumbs into it, patting into an even layer all the way to the edges. Place pan into the freezer to set for at least 30 minutes.
Pudding
- In a medium bowl, whisk the pudding with the 1 ½ cups of milk. Refrigerate until ready to use.
Chocolate Cheesecake Layer
- In a large mixing bowl, beat the cream cheese until smooth. Add the confectioners' sugar, and vanilla and mix completely.
- in a small microwavable bowl, melt the chocolate chips for 30 seconds, and stir. Heat again for 10 second intervals until smooth and completely melted, stirring in between. Pour the melted chocolate into the cream cheese and mix until well combined. Fold in one cup of the Cool Whip or stabilized whipped cream, and blend well.
Assembly
- Remove the crust from the freezer and spread the cheesecake to all edges of the pan in an even layer.
- With an offset spatula, spread the cherry pie filling over the cheesecake.
- Gently spread the pudding completely over the cherries.
- Spread the remaining Cool Whip or stabilized whipped cream over the pudding. Refrigerate for at least two hours.
- Place the 8 remaining Oreos in a Ziploc bag and crush. Top with chocolate covered cherries, crushed Oreos, and chocolate bar shavings before serving.
Comments & Reviews
EXQUISITE
Thank you so much, Sharon! I’m so glad you enjoyed it!
Your recipe directions seem to be correct and I’m looking forward to making this scrumptious dessert. But….the preceding directions and ingredient list conflict with each other many times. You might want to read through it and change a few things.
Cindy, thank you for your comment. I’ve read through both the recipe, and ingredients and instructions in the post itself and do not see any differences, other than the fact that the wording is different. The post doesn’t have the recipe instructions word for word, but it’s still clear and correct.
Could you please be more specific, and tell me what you see differently?