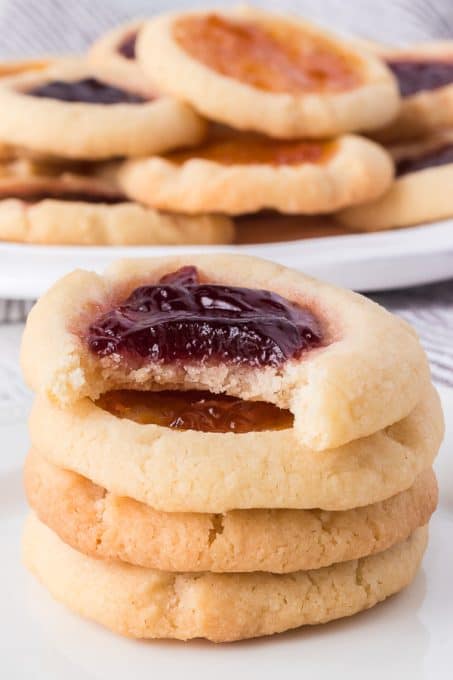
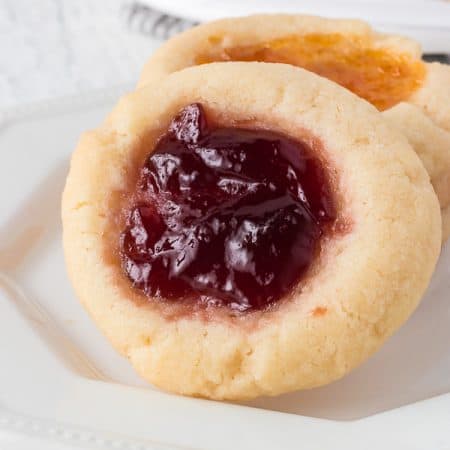
These traditional Thumbprint Cookies are the perfect addition to your cookie tray! With a soft, buttery base and sweet fruit filling, these cookies are great for holiday gifting or to enjoy any time of the year.

Welcome to 2024’s 12 Days of Cookies!
These buttery Thumbprint Cookies are Day 12 and are the final day of our 12 Days of Cookies.
I hope you’ve enjoyed making them as much as I have!
Be sure to check out all the other days for more delicious goodies.
Day 1 – Chocolate Peanut Butter No Bake Cookies
Day 2 – Cherry Thumbprint Cookies
Day 3 – Pecan Cookies
Day 4 – Grinch Cookies
Day 5 – Chai Pizzelles
Day 6 – Chocolate Mint Cake Mix Cookies
Day 7 – Cranberry Orange Blondies
Day 8 – Peppermint Meltaways
Day 9 – Red Velvet Crinkle Cookies
Day 10 – Gingerbread Truffles
Day 11 – Peppermint Bark Cookies
Day 12 – You’re on it!
We’ve been baking up a storm these last few weeks to bring you all these different kinds of cookies. We’ve had everything from no-bake cookies to blondies and everything in between! For the finale, we’re throwing it back to a classic!
These nostalgic thumbprint cookies remind me of my childhood. It seems like a plate of these showed up at every holiday event I attended. I may not have appreciated jam thumbprint cookies as a kid—I was more interested in the brightly decorated sugar cookies. But now, as an adult, I know why these cookies were always there: they are absolutely delicious!
SAVE THIS EASY THUMBPRINT COOKIE RECIPE TO YOUR FAVORITE PINTEREST BOARD!

Where do Thumbprint Cookies come from?
There are many varieties of these sweet desserts, but they all hail back to the original Swedish treat called hallongrotta, which literally means “raspberry cave”. Today, Americans traditionally think of these as holiday treats, but with different toppings and fillings can be served all year long!
Some varieties you might see have fillings such as lemon curd, caramel, and Nutella, along with different types of jams and jellies. Feel free to try out your favorite jam!
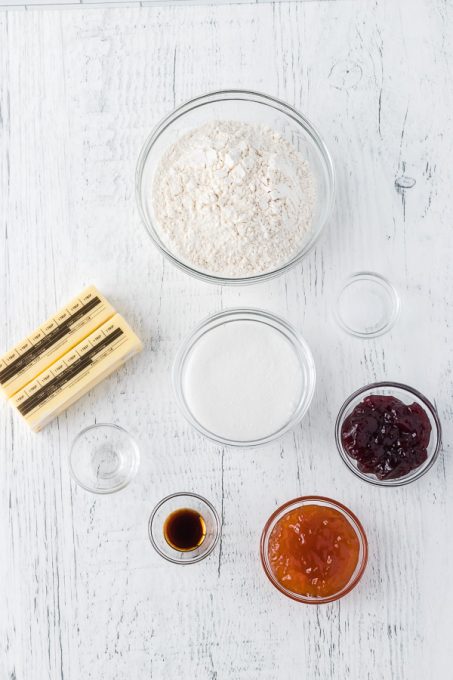
Ingredients for Classic Thumbprint Cookies
These sweet treats only require a few simple ingredients to make the shortbread cookie dough:
- All-purpose flour
- Kosher salt
- Unsalted butter, softened
- Granulated white sugar
- Pure vanilla extract
- Almond extract
- Raspberry jam and/or apricot preserves (see recipe note below)
- Note: There are NO eggs in this recipe!
You can find detailed amounts and instructions in the recipe card at the bottom of the post!
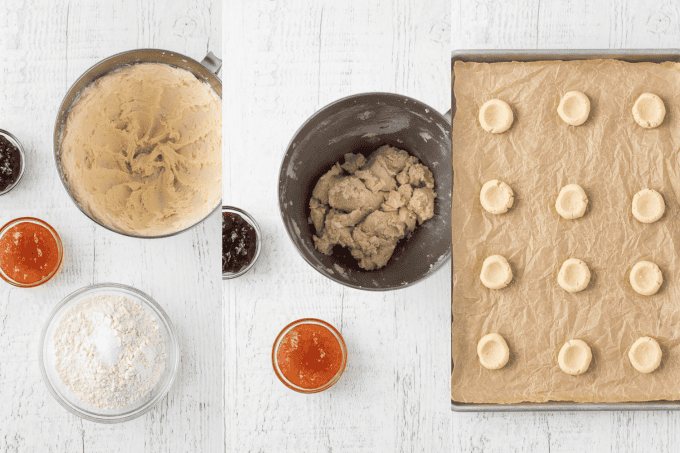
How to Make Buttery Thumbprint Cookies
- First, line a large baking sheet with parchment paper or a silicon mat.
- Next, in a small bowl, whisk together 2 cups of flour and ½ teaspoon kosher salt.
- In a separate bowl, cream together 1 cup (2 sticks) softened unsalted butter and the granulated sugar with an electric mixer (or stand mixer fitted with the paddle attachment) until light and fluffy, about 2 – 3 minutes. Add 1 teaspoon pure vanilla extract and ¼ teaspoon almond extract, mixing until combined.
- Gradually add the flour mixture to the wet ingredients, mixing until a soft dough forms. The cookie dough should be soft but not sticky. Gather the dough into a ball.
- Now use a 1-tablespoon cookie scoop to portion out the dough. Roll each scoop with your hands into a dough ball and place it on the prepared baking sheet, leaving about 2 inches in between each cookie.
- Using the back of a teaspoon or your thumb, gently press an indention into the center of each cookie dough ball. Place in the freezer and chill for 30 minutes.
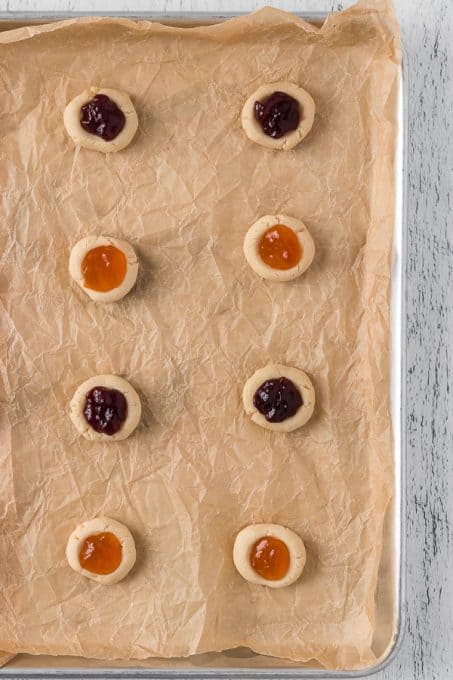
- While the dough chills, preheat your oven to 350°F. After 30 minutes, remove the baking sheet from the freezer and spoon the raspberry and apricot preserves into the center of each of the cookies (see note below).
- Bake for 15 – 20 minutes or until the edges are set and lightly golden brown. Allow cookies to cool on the baking sheet for 5 minutes, then transfer to a wire rack to cool completely.
Recipe Notes
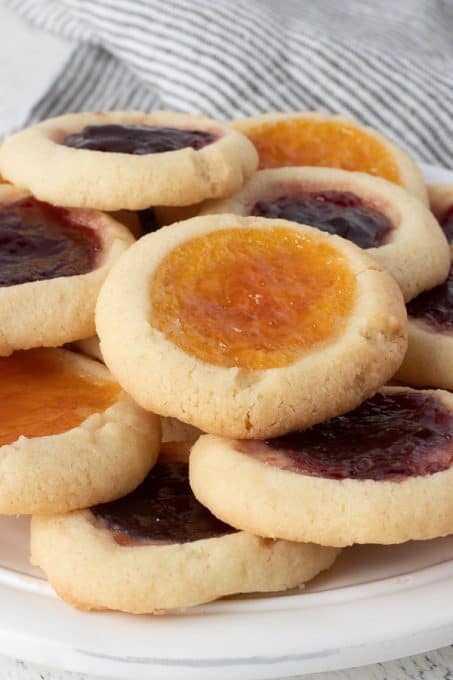
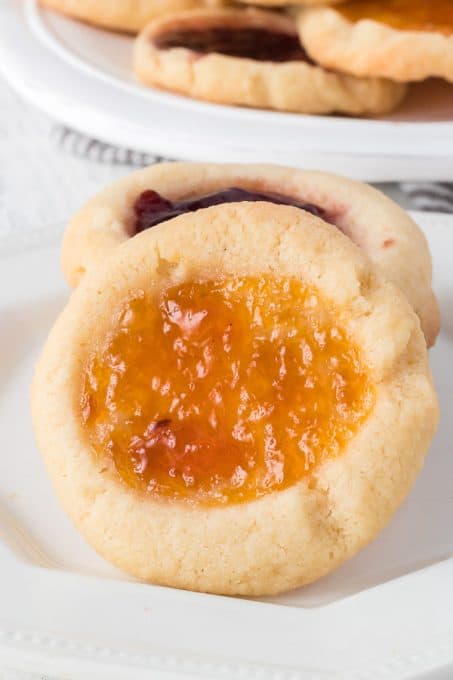
This recipe includes directions on how to make half raspberry thumbprints and half apricot thumbprints. You can do all one flavor or make half and half like I did. There’s no right or wrong way!
Also, the cookie dough should be about Play-doh consistency. You should be able to roll it between your palms without sticking but you also shouldn’t have to force it to stay together. If the dough needs adjusting you can add a little more flour if it’s too sticky, or a teaspoon of milk if it’s too dry.
FAQs
Why is it called a Thumbprint Cookie?
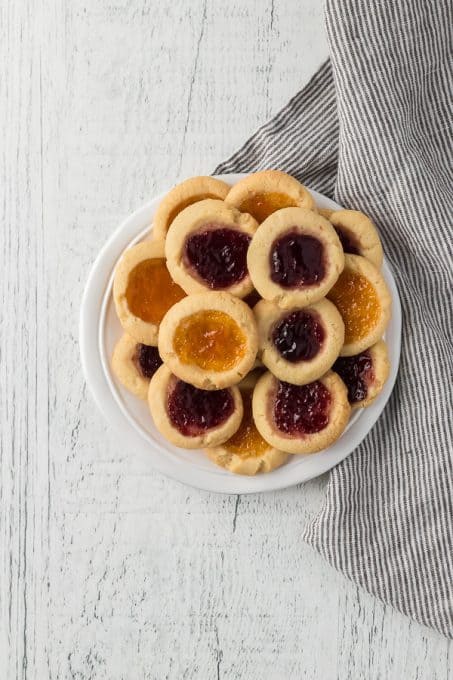
Believe it or not, it’s just like it sounds! Each of the buttery cookies has a thumbprint in the middle. Before baking, you’ll add a thumbprint to the center of each cookie dough ball. That is where we will later add the preserves to finish off the cookies.
Can I make Thumbprints ahead of time?
This dough is perfect for making ahead and freezing until ready to bake! Simply make the dough as directed, roll the cookie dough into balls, press the thumbprint centers, and then freeze the balls until ready to bake.
I would freeze them on the cookie sheet until firm, then transfer them to a freezer bag to freeze completely. Then thaw the cookies to room temperature before adding the preserves to the center and baking.
How do I store these cookies?
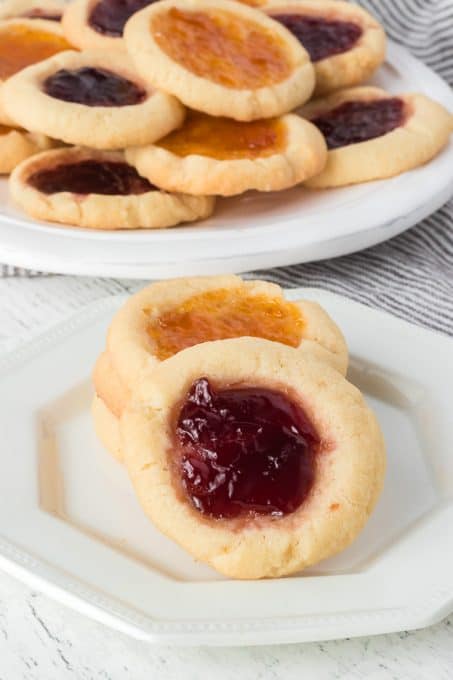
Store them in an airtight container in the fridge for up to a week or at room temperature for 2-3 days. I think they taste best when enjoyed within a day or two.
Can I freeze baked Thumbprint Cookies?
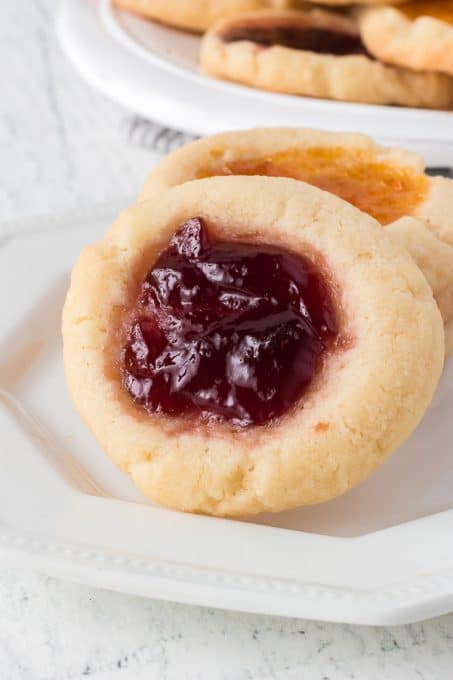
Yes, you can. Once they cool completely, transfer them to an airtight container or freezer bag and freeze for up to 2 months. Thaw overnight in the fridge or for a few hours on the counter at room temperature.
More Thumbprint Cookie Recipes
I love experimenting with different ways to make thumbprints! Here’s what I’ve tried so far:
- Caramel Thumbprint Cookies are melt-in-your-mouth shortbread cookies rolled in chopped pecans, and topped with creamy salted caramel sauce and a chocolate drizzle!
- Chocolate Thumbprints have a little cinnamon in the dough and a semi-sweet chocolate glaze for the thumbprint filling. So good!
- With aromatic cherries and rich, velvety chocolate, these Chocolate Cherry Thumbprint Cookies are delicious and addicting!
- Want Cherry Thumbprints without the chocolate? Try these Cherry Thumbprint Cookies. The soft, buttery cookie base is topped with cherry pie filling and a sweet vanilla glaze.
- Peanut Butter and Jelly Thumbprints are made with a peanut butter cookie base and strawberry preserves in the center. It’s a peanut butter and jelly sandwich in cookie form!
FOLLOW ME
FACEBOOK ~ PINTEREST
INSTAGRAM ~ TWITTER
YOUTUBE
Keep an eye out for more of my easy recipes each week!
Want to Save This Recipe?
Enter your email & I’ll send it to your inbox. Plus, get great new recipes from me every week!
By submitting this form, you consent to receive emails from 365 Days of Baking and More.
Thumbprint Cookies
Ingredients
- 2 cups all-purpose flour
- ½ teaspoon kosher salt
- 1 cup unsalted butter, softened
- ⅔ cup granulated sugar
- 1 teaspoon pure vanilla extract
- ¼ teaspoon almond extract
- ⅓ cup apricot preserves *See note
- ⅓ cup raspberry preserves
Instructions
- Line a large baking sheet with parchment paper or a silicon mat.
- In a small mixing bowl, combine 2 cups of all-purpose and ½ teaspoon kosher salt using a whisk.
- In a large mixing bowl, cream together 1 cup (2 sticks) softened unsalted butter and ⅔ cup granulated sugar with a hand or stand mixer until light and fluffy, about 2 – 3 minutes. Add 1 teaspoon pure vanilla extract and ¼ teaspoon almond extract, mixing until combined.
- Gradually add the flour mixture, mixing until a soft dough forms. The dough should be soft but not sticky. Gather the dough into a ball.
- Use a 1-tablespoon cookie scoop to portion out the dough. Roll each scoop with your hands into a dough ball and place it on the prepared baking sheet about 2 inches apart.
- Using a teaspoon or your thumb, gently press an indention into the center of each cookie. Place in the freezer and chill for 30 minutes.
- While the dough is chilling, preheat your oven to 350°F. After 30 minutes, remove the baking sheet from the freezer and fill each of the cookies with 1/2 – 3/4 teaspoon of the fruit preserves.
- Bake for 15 – 20 minutes or until the edges are set and lightly golden. Allow cookies to cool on the baking sheet for 5 minutes, then transfer to a wire rack to cool completely.
Notes
- There are NO eggs needed in this recipe.
- Feel free to use raspberry or peach preserves exclusively or use half and half!

Leave A Reply!