Christmas Cherry Hand Pies are easy to make with 5 ingredients you’ll be able to find at your favorite grocery store! You’ll love these delicious single serving cherry desserts for Christmas or any holiday celebration.
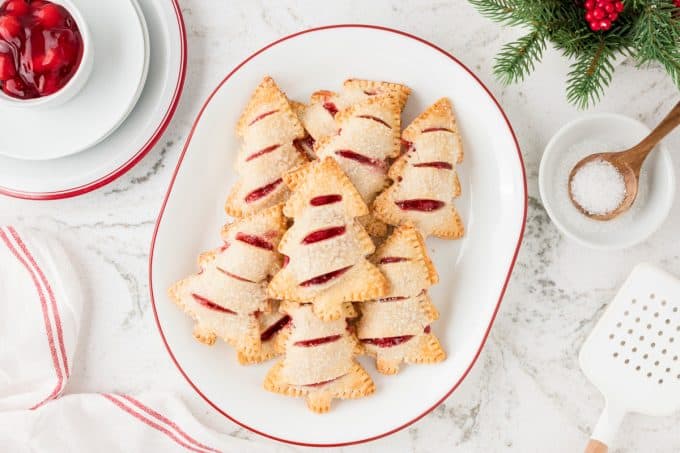
Have you ever made hand pies?
SAVE THIS EASY AND DELICIOUS CHERRY HAND PIES RECIPE TO YOUR FAVORITE PINTEREST BOARD!
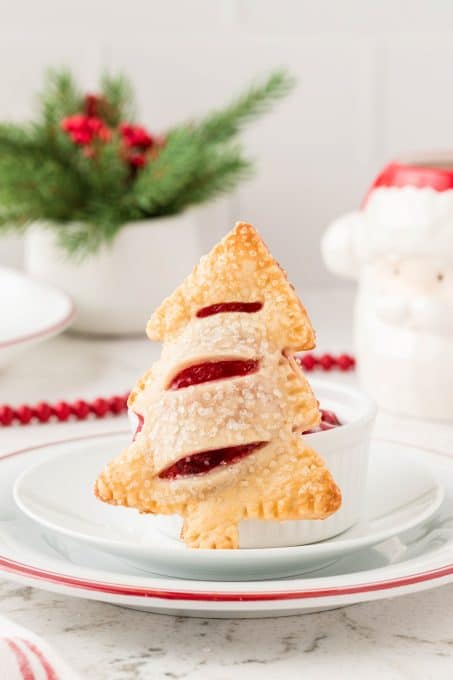
Hand pies are exactly what they sound like: pie you eat with your hands!
Making hand pies couldn’t be any easier. Cut out pie crust, add filling and bake.
You can make hand pies with a homemade cherry pie filling, apple pie filling or just about any pie filling you like, depending on your craving.
You can also use homemade pie crust, puff pastry,
But today, we’re making things easy because I know you’ve already got a lot on your plate with entertaining, shopping, trips, and everything else in between. So let’s make Cherry Hand Pies with Pillsbury Pie Crust, and they’re a fun Christmas twist for the holiday season.
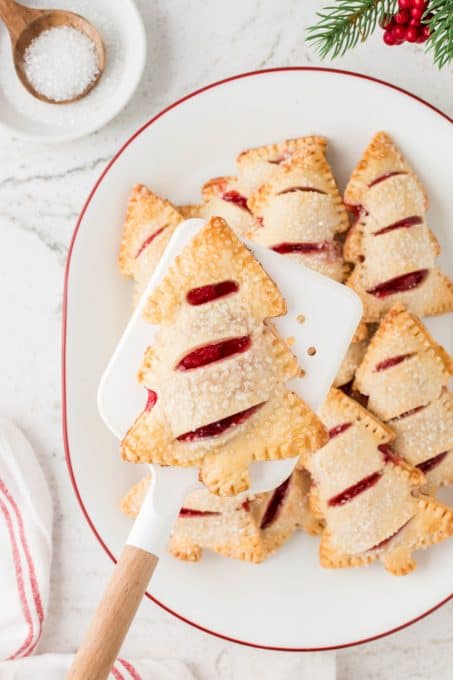
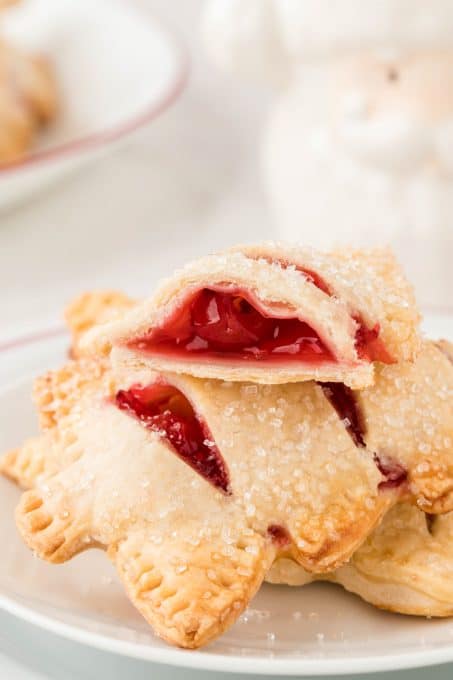
Our Christmas hand pies have all the great flavor of classic cherry pie. Flaky, golden brown crust. The juicy burst of sweetened tart cherries. All baked into a festive Christmas tree shape!
Once you learn how easy it is to make cherry hand pies with canned pie filling, you’re going to want to make them for Christmas every year.
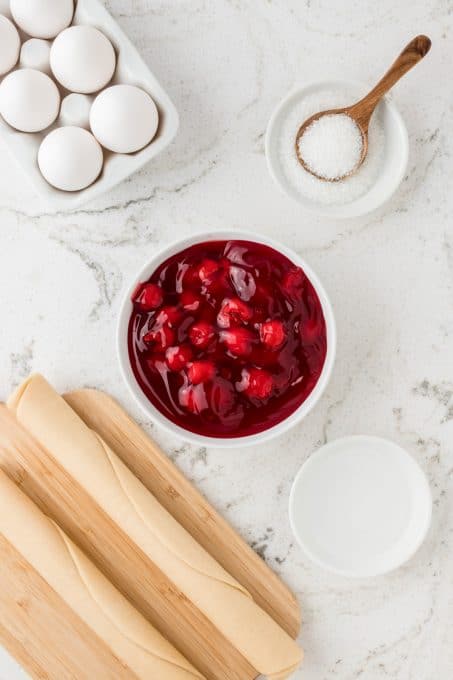
What do I need to make mini cherry pies?
You only need 5 ingredients to make this easy cherry dessert recipe:
- Refrigerated pie crust – I use Pillsbury ready-made pie crust. You’ll need 3 boxes for a total of 6 crusts.
- Cherry pie filling – One can of cherry pie filling is ample for this recipe!
- Eggs – It’s brushed over the pies to give the crust a golden brown color.
- Water – Mixed with the egg to form a wash for the top of the pies.
- Coarse sanding sugar – Sprinkled over the pies to add an interesting texture and finish. Using the white sanding sugar will make the trees sparkle and have a snow-like appearance. If you don’t have coarse sanding sugar, you can use Turbinado sugar. It’s darker in color, but the coarse sugar will give the pie a good crunch.
Along with standard baking supplies like a cookie sheet and mixing bowl, grab a Christmas tree shaped cookie cutter to give these pies their shape. I recommend cookie cutters that are about 4 inches long.
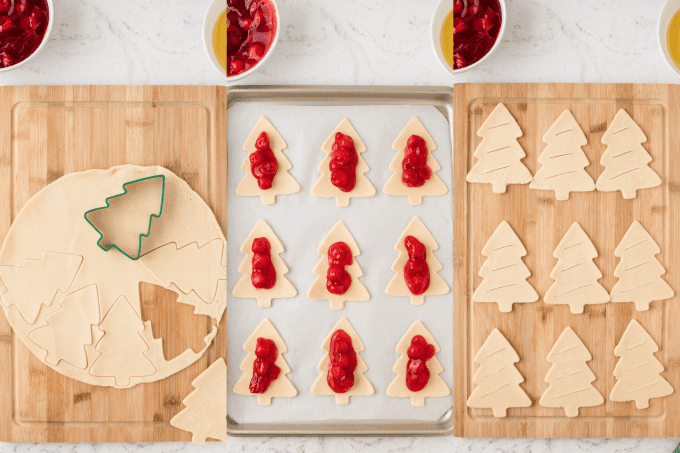
How do I make this cherry hand pies recipe?
The great thing about making cherry hand pies with canned pie filling and Pillsbury pie crust? Most of the work is already done!
Start by rolling out your pie crusts on a lightly floured work surface.
Use your cookie cutters to cut each pie dough into 7 “Christmas trees”. You may need a rolling pin to re-roll the excess dough a few times to get enough.
With a sharp knife, make three diagonal slits across half of the trees which would be the top crusts. This small step is important and serves two purposes. The slits let steam out of the pies as they bake to prevent bursting. It also gives the pies a more layered ‘tree-like” appearance!
Place the other half of the trees on a baking sheet lined with a sheet of parchment paper. Put a spoonful of cherry pie filling in the center of each one. Top with the slit pie crusts and pinch the seams together.
Now, crimp the edges together with the tines of a fork. This helps seal the hand pies.
One last step before the hand pies are ready to go into the oven—the topping!
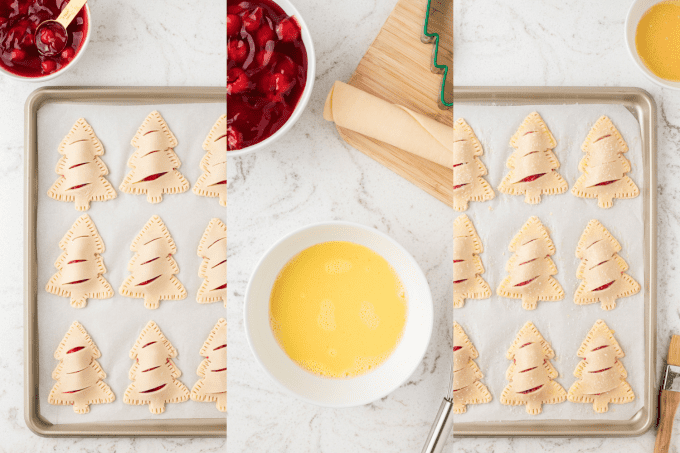
In a small bowl whisk together the egg and water to form a wash. Using a pastry brush, brush tops of each pie with the egg wash. Sprinkle the top of each pie immediately with the coarse sanding sugar.
Bake in the oven at 350 degrees F until the tops of the trees are golden brown. Bake time is about 20 minutes.
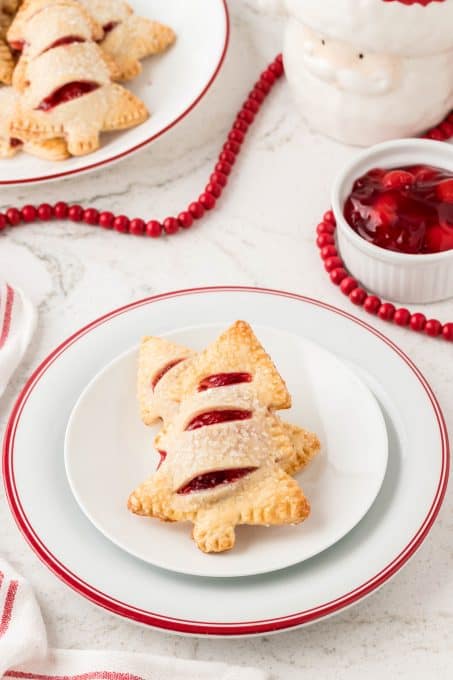
Cherry hand pies look and smell amazing fresh from the oven, but it’s important to give them at least 10 minutes to cool down on a cooling rack. Otherwise, you run the risk of burning your mouth on the hot pie filling!
The pies taste best enjoyed slightly warm. We loved the leftovers at room temperature too.
How do I store Cherry Hand Pies?
You can store these hand pies a few different ways, depending on how long you need them to last. Place hand pies in an airtight container and seal them for best freshness!
- At room temperature: Cherry Hand Pies keep well for about 3-4 days. There’s no need to heat them up or thaw them, so this is a great option if you plan to eat them soon.
- In the refrigerator: Cherry Hand Pies stay good for up to 2 weeks. Let them come to room temperature, or warm them in the oven for a minute or two before enjoying.
- In the freezer: Cherry Hand Pies will keep for up 3 months. A great option for bakers who like to prep way ahead of time! Thaw frozen hand pies in the refrigerator, then bring them to room temperature on the counter before serving.
Cherry Recipes
These Christmas Cherry Hand Pies tasted so good with canned filling, I don’t know if I’ll ever feel the need to make my own filling from scratch.If you’re looking for a similar recipe with FRESH cherries instead, try my Cherry Blueberry Turnovers! I use fresh cherries and blueberries in these Blueberry Cherry Mini Crumb Pies too.
As much as I love baking with fresh fruit, you just can’t beat the convenience and deliciousness of canned pie filling. Combine it with cake mix to make this Chocolate Cherry Dump Cake, or layer it into Chocolate Covered Cherry Cheesecake. It also tastes heavenly in these Red Velvet Cherry Dream Bars and these rich Black Forest Dream Bars.
If you love the maraschino cherries on top of the Black Forest Dream bars, you’ll love these Chocolate Cherry Cookies. The maraschinos add so much sweetness, moisture and flavor to an already-delicious cookie!
Since we’re talking chocolate and cherries, I can’t forget to remind you about these Easy 3 Ingredient Chocolate Covered Cherries. I’ve been making them for years. SO much tastier than the kind from a candy box!
I’ve had dessert on the mind today with all this talk of pies, but cherries aren’t just for dessert. I’ve shared several tasty cherry breakfast and brunch ideas on the blog, from Chocolate Cherry Pancakes to Cherry Oatmeal Muffins. This Cherry and Dark Chocolate Galette makes a decadent addition to a holiday brunch table!
Christmas Desserts
WOW your dinner crowd by bringing one of these showstopping Christmas desserts to the table this season!
- Peppermint Brownie Pie
- No-Bake Pumpkin Nutella Cheesecake
- Peppermint Dream Dessert
- Viennese Crescents
- Raspberry Star Bread
- Easy Cranberry Pie Recipe
- Cranberry Orange Dream Bars
- Cream Cheese Pumpkin Bread
- Ginger Molasses Snickerdoodles
- Chocolate M&M Christmas Cookies
- Peanut Butter Reindeer Cookies
- Fudge Peppermint White Chip Marshmallow Brownie
- Cinnamon Roll Layer Cake
- Gingerbread Biscotti
- Peppermint Chocolate Biscotti
- Biscoff Toffee Bark
- Cranberry Ginger Pistachio Sugar Cookies
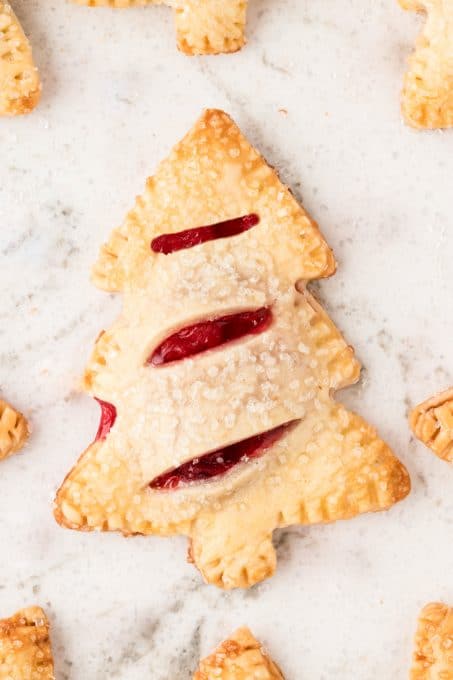
If you only make one easy recipe for dessert this season, make it these Christmas Cherry Hand Pies. I know you’ll everything about them from the picture-perfect tree shape to the classic cherry filling!
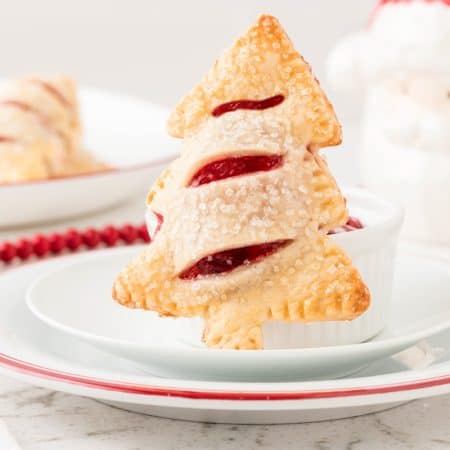
Christmas Cherry Hand Pies
Ingredients
- 45 ounces refrigerated pie crusts (3) 15-ounce boxes with 2 crusts per box
- 21 ounces cherry pie filling
- 2 large eggs
- 2 tablespoons water
- 3 tablespoons coarse white sanding sugar
Instructions
- Let refrigerated pie crusts stand at room temperature for 15 minutes. Preheat oven to 350°F, and line a large baking sheet with parchment paper.
- Unroll the pie crusts. Using a 4-inch Christmas tree-shaped cookie cutter, create 7 pieces of Christmas tree-shaped pie crust from each available crust. One single pie crust will allow for 7 4-inch trees. You may gather the scraps and combine them into a ball. Use a rolling pin to roll out the remaining dough and make additional hand pies.
- Use a sharp paring knife to create 3 diagonal slits across the front of half of the trees, reserving the other half of the crusts for the backs of the trees.
- Pour the contents of the cherry pie filling into a medium mixing bowl.
- Put the back of the trees onto the prepared baking sheet. Place 1 heaping tablespoon of cherry pie filling into the center of the tree back dough. Place the top part of the crust with the slits over the top of the pie filling. Gently press the edges together to seal the filling inside the crust. Use a fork to crimp the edges of the hand pies.
- To make the egg wash, whisk 2 large eggs and the 2 tablespoons of water in a small mixing bowl.
- Once the pies are filled, topped, and crimped, brush the face of each hand pie with the egg wash. Sprinkle each hand pie with the coarse sanding sugar.
- Place into the oven and bake for 20 minutes or until the Christmas trees are golden brown. Cool on a wire rack for about 10 minutes.

Comments & Reviews
I made these today for one of our Christmas desserts for tomorrow. Mine sure didn’t look as nice as yours. They look kind of messy and I didn’t even put a whole tablespoon of cherry pie filling in each one. But I’m sure they will still taste good.